A cheap person’s guide to buying groceries in expensive times.

Hi, I'm unhinged.

If there’s one thing I’m good at, it’s thinking the worst and preparing for disaster. I will overreact to the most non-threatening stimuli, which is what makes me such an excellent marriage partner, parent, and employee. The little one made Lego characters of our whole family from a kiosk in the mall, and mine is the only one who looks alarmed. “It looks just like you!” Thanks.

Depending where you live, groceries are going up for a variety of reasons. Here in Canada, we’re affected by a number of issues, including the California drought and our plummeting dollar. The symbol of the insanity that is our cost of groceries right now is the ten dollar cauliflower; this trendy ingredient is now more expensive than a cello-wrapped package of twelve chicken thighs, and people are pissed.

If you’re ordinarily a tense person and you’re on a budget, you may be inclined to panic.

BUT WAIT. DON’T. And let me tell you, if I am telling you not to panic, you should not.

“But Emily,” you might say. “I saw the Lego you. You look unhinged.” That is true, and generally an accurate depiction of me, but when we’re talking about groceries, a few things are also true.

Yes, many common ingredients are now very expensive and things seem bleak and terrible. As someone who always feels this way, let me reassure you: There are things you can do to get through the winter without blowing your budget or losing your mind.

Side note: There are also very good cook books you can buy to inspire you. Ahem.

Secondary side note: I have tips for the Farmer’s Market too, but I’ll save those for another day this week. Stay tuned.

Think about what’s in season locally

Right now, in British Columbia where I live, apples, cabbage, pears, rosemary, sage, turnips, and winter squash are all in season (source: BC Association of Farmer’s Markets). You can find lists of what is in season in your area online, or pop by your local Farmer’s Market and see what local folks are selling. Potatoes, onions, and carrots that have been in cold storage since the fall are also affordable, depending on where you shop.

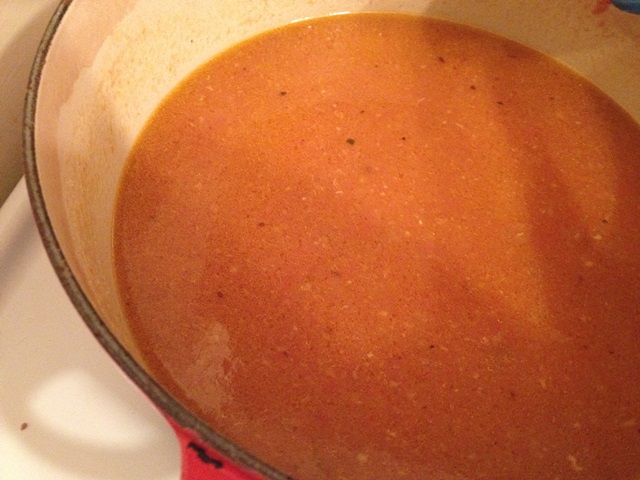
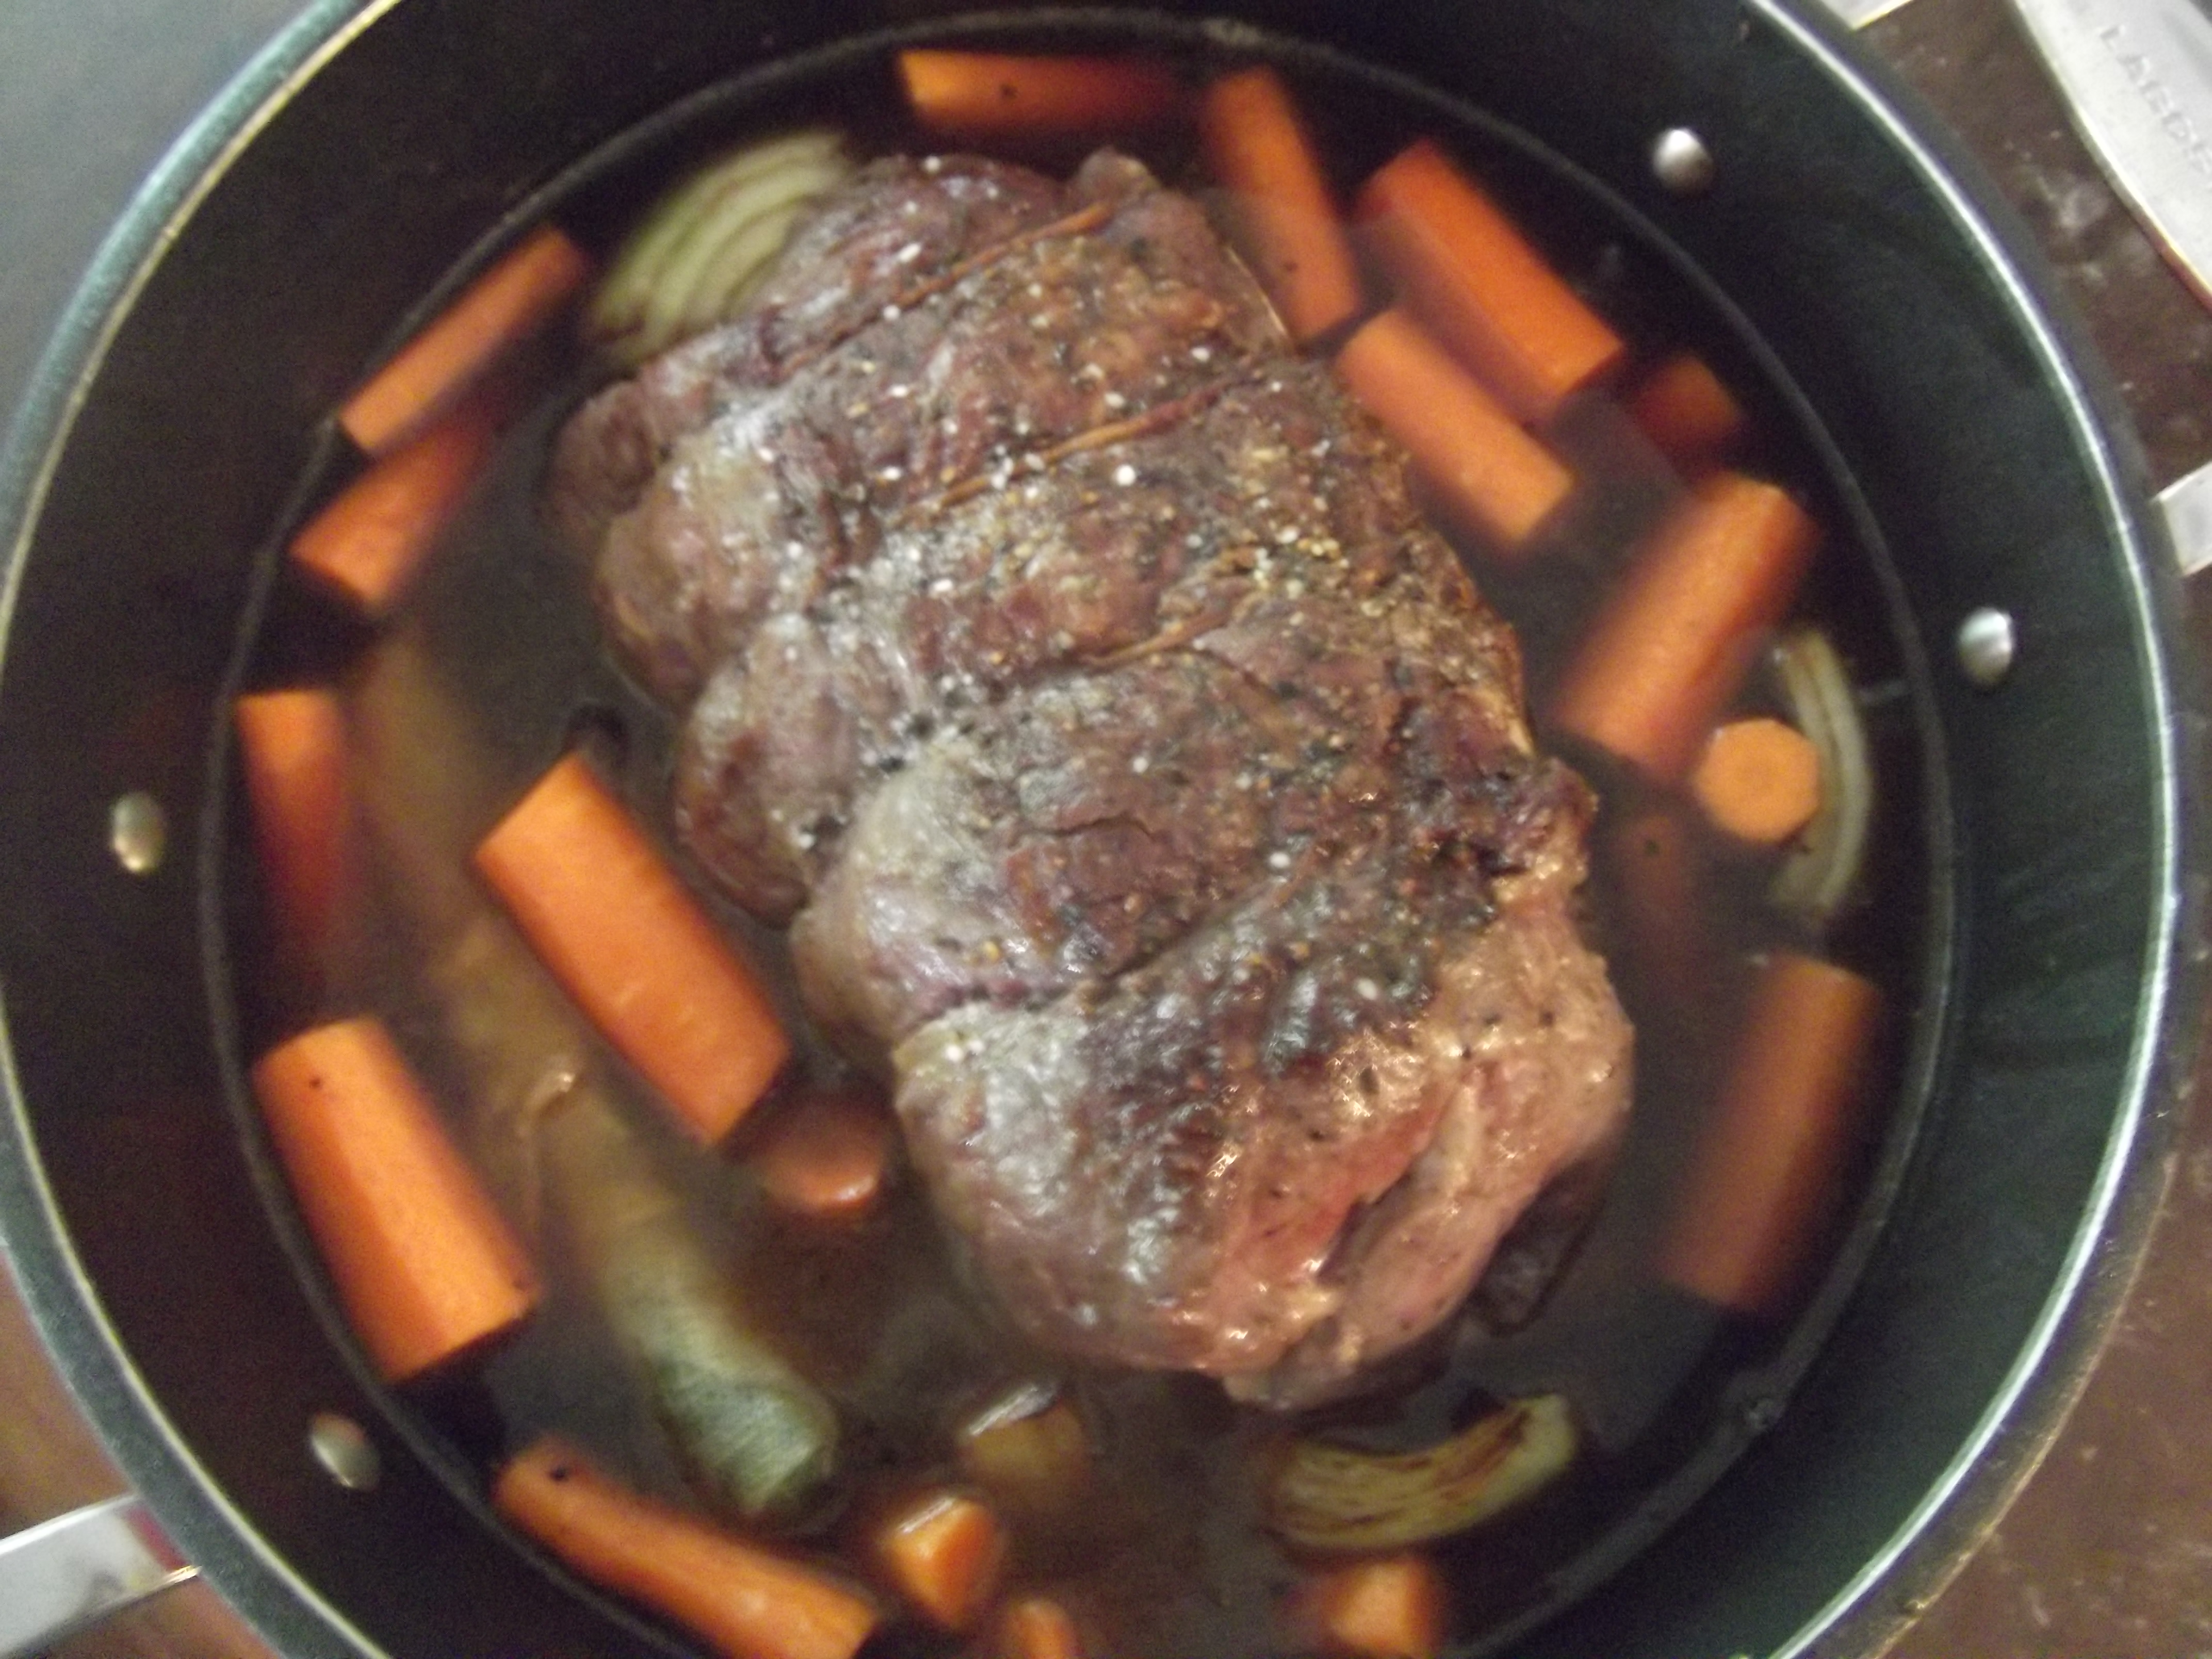
Root vegetables, tubers, and squashes are all very reasonable in winter. They make excellent gratins, stews, and soups, which is what you need to be eating right now anyway. It’s cold outside. Squash soup will make you feel good.

Where you shop matters

If you learn nothing else from me, let it be that you should not buy all of your groceries in one place. Is that annoying and occasionally time consuming? Well, yeah. But so are most things in grown-up life, and at least if you have to go to four different places to buy groceries, you’ll earn yourself a long-term sense of what things should cost (or at least, what to never buy full price).

This is a fairly obvious point, but then you find yourself at Save-on-Foods not saving money on any foods and I hope at that moment you think to yourself “WHAT WOULD EMILY DO?” because what Emily would do is haul ass out of that supermarket post haste. I buy my produce at farm markets and A&L or Kim’s Market (both on Broadway in Vancouver) where the prices mean the food turns over quickly and is always fresh.

Convenience is expensive. So it goes.

Try something new

Okay, so lettuce is out of the question because it’s five dollars a head. You don’t get to have lettuce right now (it sucks, but spring is around the corner and then we’ll all eat butter lettuce until we burst). Try ong choy (sometimes labelled “water spinach”) or yu choy; these Chinese greens are abundant in Asian markets and generally very reasonable. Don’t know what to do with them? As a rule, anything stir fried with garlic and chilies or garlic and sesame oil is delicious; if you’re not convinced, check the Google.

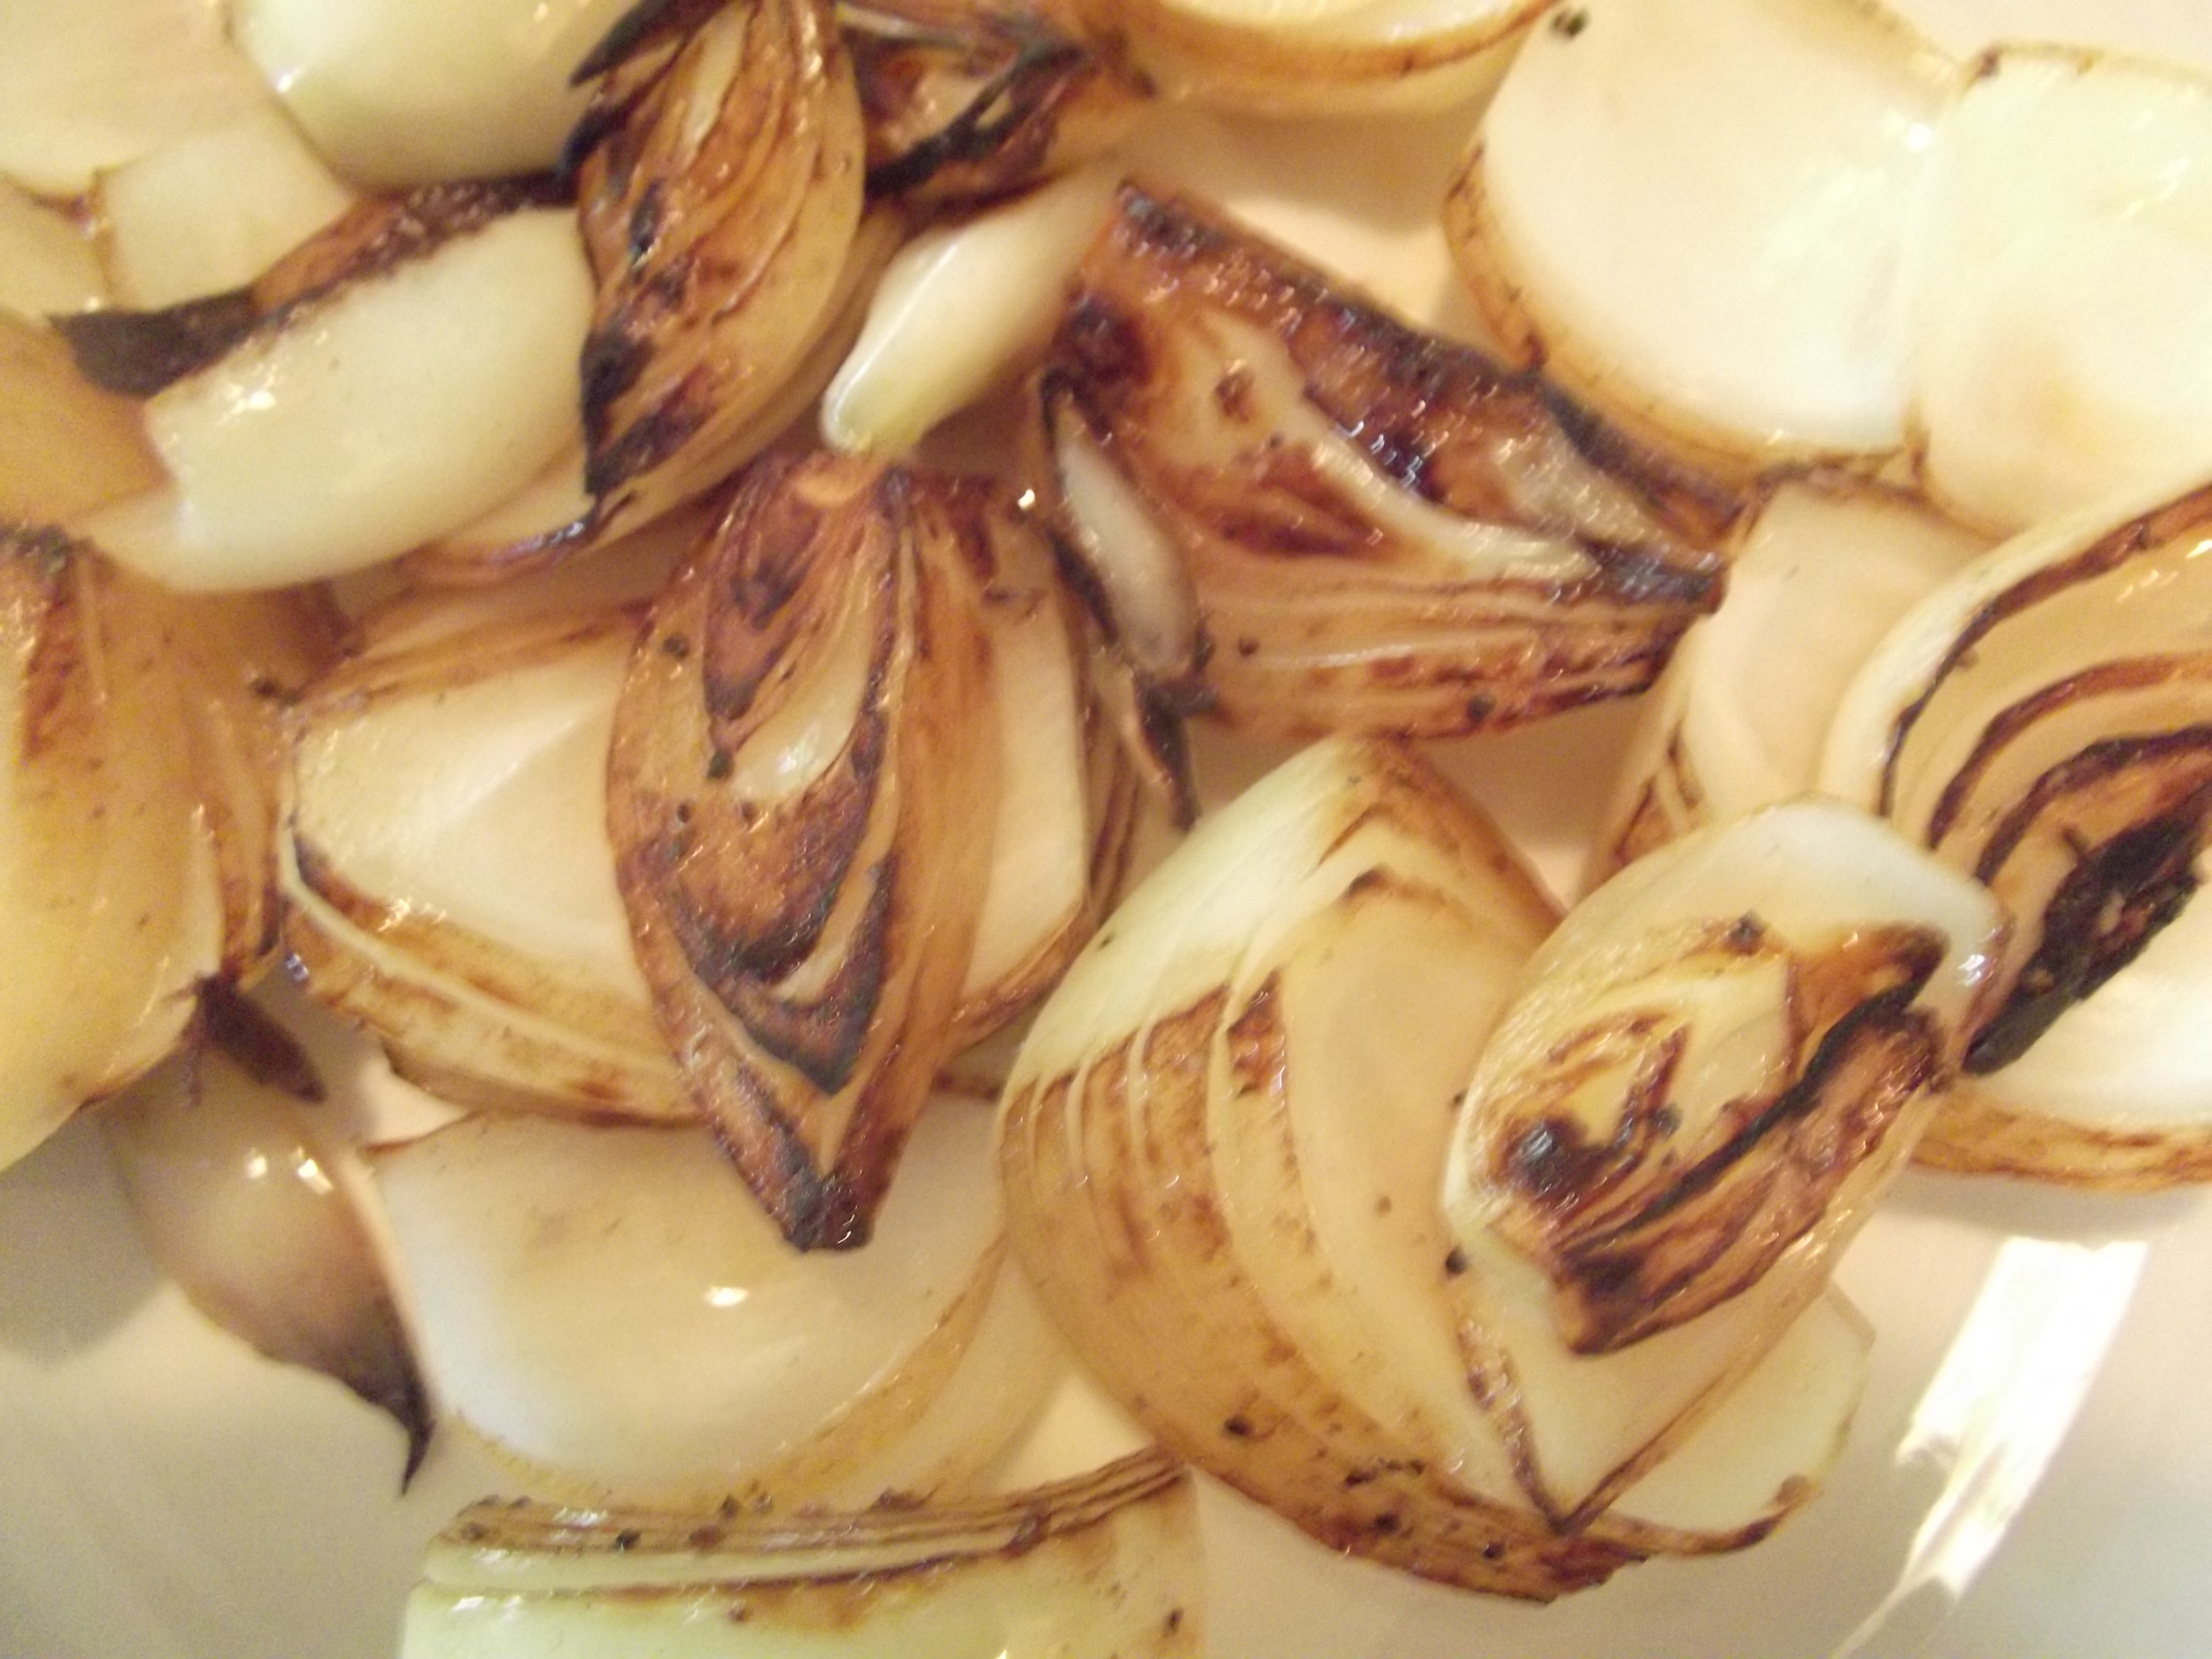
Don’t have a market that sells Chinese greens nearby? Make something new out of something familiar – onions have many main-course applications, including soups, bread puddings, or egg dishes; celery can be braised, thinly sliced and served as a salad with green apples, or turned into soup. Carrots can do anything. Garlic? Surprisingly versatile.

Reconsider your meat budget

A lot of the same people complaining about the cost of vegetables are still happily serving meat as a main. I love meat, but I don’t love not having wine money, so we build meals that aren’t focused on protein a few nights a week and we’re surviving just fine, even the diabetic among us.

Tofu, canned fish, peanuts, eggs and pulses (chickpeas, lentils, split peas, beans) will fill your protein requirements in budget-friendly ways; the price of a bunch of broccoli is a lot easier to take once you toss a few costly proteins out of your cart. Some of the non-grain grains, like buckwheat and quinoa, are good sources of protein and are often pretty cheap in bulk or on sale.

Check your flyers and loyalty programs

I load apps (PC Plus, Shoppers Optimum, etc.) on my phone with coupons every Thursday or Friday to save on canned veggies and fish, condiments, and dairy products, which helps me plan my meals for the week around what’s on sale. If it’s not on sale, we don’t get to have it that week. There’s always something on sale, though. Always.

Check the freezer section

And the canned veggies section. There are usually deals to be had here, especially on store-brand products. What is the difference between No Name and regular frozen spinach? Price. Frozen and canned foods are more nutritious than fresh, out-of-season fruits and veggies in the produce section, which I told you to avoid anyway. Get away from there. Too expensive.

Make one dish

Partly because I’m lazy and partly because I have to feed a small child, I am not making multiple dishes on a weeknight. We will have a curry and a rice. Or a stew and some bread. Or a big pile of cheesy pasta with veggies hidden inside. But I am not making three things for a kid to reject and not eat. I only have the energy for one battle per night, and Nick handles tooth-brushing and pajamas.

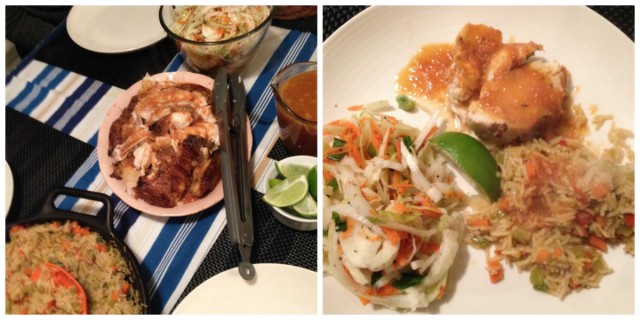
Make one dish and stretch it. Are you making pasta? Add some chickpeas. Are you making fried rice? Shred some carrots and cabbage into it and fry up a couple of eggs. Make omelettes or a big frittata. Make a curry with squash or potatoes and dissolve some red lentils into it. Blend everything that’s wilting in your crisper into a creamy soup. Make one nutritious thing, and enough of it to make leftovers for lunch, and that’s plenty.

Especially in North America, we have this weird idea that we need to have a meat, a starch, a vegetable, and maybe a salad at every meal. This weird idea gives me hives. In my wallet.

Boost flavour with condiments

Try kimchi – it’s magical and probiotic and makes everything (including your poops) better. Mustard, hot sauce, fish sauce – these will elevate the humble potato or dollar bag of noodles into something worth serving to company and/or Instagramming. Condiments are cheap, used sparingly, and last forever in your fridge or pantry.

Anything with strong flavours will go a lot farther – I buy small amounts of aggressive cheeses, lots of canned oily fish (mackerel, herring, sardines), the occasional cured meat, interesting vinegars, and fresh herbs and put them with very modest ingredients, like eggs, frozen corn, stale bread, or canned tomatoes and dry pasta. I never run out of coconut milk, spices, pickles and capers, or olive oil. Bright-flavoured ingredients make even the simplest dish feel special.

Be adventurous

Now is as good a time as any to branch out and try something new, whether that new thing is a green vegetable you’ve never heard of or a total revamping of what you’re willing to consider a meal. Unless you’ve got specific marching orders from your doctor, the rules of dinner are flexible and up to you, and if you say that your family is having soup and grilled cheese sandwiches for dinner, well, I say they’ll probably love it.

We’ll get through this. We always do.

Do you have money-saving tips? Did I miss anything? Please tell me!


One-dish baked chicken and rice.

chicken and rice

If December was about coming undone, January is about putting ourselves back together (and lying to MyFitnessPal). We stole a whole day to ourselves yesterday, turned our ringers off and did laundry and made messes and ate Alphagetti on the couch in our pajamas and it was exactly what we needed. Today life returned to normal, and work was work and not an unending candy buffet. Everything is as it was, only now nothing really fits right and we’ve got to somehow pay all those bills we put off until after Christmas.

Part of putting ourselves back together is eating simply. After a month of rushing and driving and spending and feasting and drinking, all I want is to not feel like I am dying after eating a meal. At least for now. Simple, single-dish dinners that mostly prepare themselves are what will get us through this rainy post-holiday decompression phase (and, with any luck, back into our pre-Christmas dress sizes).

Happy New Year. I hope you’re easing into 2015, cozy, and eating something nice.

One-dish baked chicken and rice

(Makes 4 to 6 servings.)

  • 4 tbsp. olive oil, divided
  • 8 chicken thighs
  • 2 carrots, peeled and finely chopped
  • 2 celery stalks, finely chopped
  • 1 onion, finely chopped
  • 3 garlic cloves, finely chopped
  • 3 tsp. fresh thyme, chopped and divided
  • 2 cups basmati or other long-grain white rice
  • 2 1/2 tsp. coarse salt, divided
  • 1 1/2 tsp. ground black pepper
  • 1 lemon, zest and juice
  • 4 cups low-sodium or homemade chicken stock

Preheat your oven to 375°F. If you have a large pan or Dutch oven, use this. If not, a deep 9″x13″ pan will work just fine.

Rub chicken thighs with oil, and season with 1 teaspoon each of salt and pepper. Set aside.

Over medium-high heat, sauté your carrots, celery, and onion in olive oil for two to three minutes, until the veggies just begin to soften and their colours turn bright.

Add the garlic and 2 teaspoons of thyme, cook another minute, then add the rice. Stir to coat the rice in the oil mixture. Add remaining salt and pepper. Stir again.

Add lemon zest and juice and stock to the pan. Taste, and adjust your seasonings as needed.

Nestle the chicken thighs into the rice mixture, sprinkle with remaining thyme, and bake, uncovered, for  50 to 60 minutes, until chicken is cooked to a minimum internal temperature of 165°F, or until you find the juices run clear when you cut into a piece of chicken with a sharp knife.

Let rest for ten minutes before serving.

Coconut caramel pound cake.

pound cake

This was one of those weeks that really makes one appreciate the simple things; the kind of week where at the end of it, my salvation came from the basics – eggs and butter and sugar and flour, a bit of pasta, a bag of onions, and a few frozen sausages. The week started with some debit card fraud that cost me most of what was in my bank account, and an unavoidable trip to the local mechanic that threatened to eat up the rest.

It is also December, as you might have noticed – on top of everything, I’ve got places to go and potlucks to participate in and when you’ve got a cookbook pending, it is poor form to show up at these things with a two-liter bottle of store-brand pop and a bag of Cool Ranch Doritos. If you’re not going to bother washing your hair or dressing like an adult, you should at least show up with a salad, I guess.

But I haven’t been to a grocery store all week, which is silly because there’s one half a block away and I’ve managed to hit up the liquor store in the same vicinity twice. I am a caricature of a woman unraveling. Imagine a lot of leggings and cat hair.

December is reason enough to unravel and as a good a time as any. ‘Tis the season for demands on top of demands and far more debits than credits. And it’s so easy to fall into an exasperated funk and find yourself yelling at everyone; this is not what the season is all about, I’m told. I know it’s hard advice to take sometimes, but we need to go easy on ourselves. Take breaks. Take shortcuts. Make pound cake.

Pound cake will solve a great many of your December problems. It’s cheap – at its most basic it is literally just butter, sugar, flour and eggs – and it benefits from sitting around a while, so it’s best to make it a day ahead. It’s cake, so people will think that you tried. It’s cake, so everyone will like it.

This is grandma-level stuff right here, the kind of thing that will stand the test of time. A glazed pound cake recipe in your back pocket will get you through all kinds of things, and up to 98 per cent of what December can throw at you.

This is not one of those Bundt-pan pound cakes; make this in a loaf pan. Make it the night before you want to serve it, and then plop it out onto a plate or into a container and take it wherever you need to go. This is not fancy. Let someone else handle fancy – your job is to get through the holidays, deliciously.

Coconut caramel pound cake

Cake:

  • 1 cup butter, at room temperature
  • 1 cup brown sugar, packed
  • 4 eggs
  • 1 cup all-purpose flour
  • 1/2 tsp. coarse salt
  • 1/2 tsp. vanilla extract

Sauce:

  • 1 14-oz. (398 mL) can coconut milk
  • 1/2 cup brown sugar
  • 1/2 tsp. vanilla extract
  • Pinch salt

Preheat your oven to 350°F. Grease a 9″x5″ loaf pan, then line it with parchment paper so that the paper peeks over the sides by a couple of inches.

Using either a stand mixer or an electric mixer, cream butter and sugar together until fluffy and pale. Pause occasionally to scrape down the sides of the bowl.

Add the eggs one at a time while continuing to beat the mixture. Once you’ve added your last egg, add the vanilla and salt, and continue to beat until thoroughly mixed.

Using a spatula, fold the flour into the butter-sugar-egg mixture, a third of a cup at a time until just moistened. Pour the batter into your loaf pan, and bake for 40 to 50 minutes, until a toothpick inserted in the centre comes out clean.

Meanwhile, simmer coconut milk over medium heat with brown sugar until the mixture reduces by half. Add the vanilla and the salt, and set aside.

Using a toothpick, poke many holes into the top of the still-hot cake. Pour the coconut milk mixture over top, and let sit until cool. Cover, and let rest at room temperature for at least eight (up to 24) hours before serving.

To serve, reheat in a 350°F oven for 10 minutes. Invert onto a plate, peel away the parchment, and cut into slices. Serve as is, or with a scoop of vanilla ice cream.

Smoked fish cakes.

img_5846

I work at a health research institute where I regularly get access to some pretty brilliant people, and often my job is to translate their complicated science-speak into regular-person language. So I’m pretty lucky, as these are pretty high-profile scientists and because of the nature of my work, it’s often up to them to try and help me understand stuff. I tell myself that one day, one of them is going want to inquire about my expertise; until then, I’ll be figuring out just what that is.

One of the researchers I speak to studies human nutrition, specifically children and pregnant and nursing women. She is one of my favourite people to talk to, because she’s just so sensible. Did you know that feeding yourself and your family is nowhere near as complicated as so many articles, blog posts and news segments would have you believe? Just eat food. Choose variety, whenever possible. There no such thing as “super foods.” Fad diets are stupid and potentially harmful. Try to avoid really fatty and really sugary junk. No need to over-think it. Take a multi-vitamin if you think you need to. This is very empowering when you’re bombarded with so much misinformation and pseudo-science. It’s a huge relief when you’re always half-thinking the worst about your picky eater.

We were talking one day about some of her research around omega-3 fatty acids, which are essential fats (which means our bodies don’t make them – we have to get them elsewhere). Omega-3s are important for brain health. The North American diet is not always rich in omega-3s; good sources of omega-3s include anchovies, sardines, herring, and mackerel – things we don’t necessarily eat a lot of. It’s also in salmon, lake trout, and other fatty fish (including fresh tuna), but your best bets are small, oily fish. The good news is that adding more of these to your diet is easy, and they taste good, and they are a lot more sustainable. They’re also cheap.

Side note: Alton Brown lost something like 50 pounds eating his Sardine-Avocado Sandwiches. I’ve tried them – they are delicious – but I am still heavier than I’d like. I wish it was possible to just eat one magic thing that would counteract all the other things I eat with no additional exercise. Come on, science – get on it.

One thing we eat a lot of is fish cakes; it’s a dish that’ll feed the two of us for dinner and then breakfast or lunch the next day; you can also double your batch and freeze them. They reheat pretty well in one of those office-kitchen toaster ovens, though you may want to heat them on a piece of foil or the person who toasts her lunch after you will be a little off-put.

My recipe uses tinned smoked herring, but you can use any smoked fish you like. I just spent my morning smoking the rest of last year’s lake trout, so I’ll be subbing trout for herring for the next little while. Smoked salmon or cod make these pretty fancy; smoked sardines and mackerel work pretty well too.

Smoked Fish Cakes

(Serves 2 to 4 people.)

  • 4 cups mashed potatoes* (approximately two large or three medium Russets)
  • 2 scallions, finely chopped
  • 1 garlic clove, finely chopped
  • 2 eggs, beaten
  • 2 tsp. grainy mustard
  • 1 tsp. sambal oelek or other hot sauce
  • 1 180g to 190g tin of smoked fish (drained), or about a cup of chunked smoked fish
  • Salt and pepper to taste
  • Oil, for frying

*You can use leftover mashed potatoes to make this even easier. Or, if you’re making them fresh, let them cool until you can handle them comfortably with your bare hands.

Put your potatoes, scallions, and garlic into a bowl.

In a separate bowl, whisk together your eggs, mustard, sambal/other hot sauce, and a dash each of salt and pepper.

Crumble your fish into the bowl with the potatoes, give them a bit of a mush, then pour the egg mixture over top and mix thoroughly.

Form into six or eight cakes, about three inches in diameter and about an inch thick.

Fry each batch in a pan with about two tablespoons of a neutral oil, such as canola. You will want the pan to be hot when you put these in, so they form a nice crust; they should sizzle when they hit the pan. Cook for about two minutes per side.

Serve with ketchup, more hot sauce, or fancy mustard.

fish cakes

Mustard fried chicken.

Mustard, chicken

Raising a small person in an apartment is not without its challenges; among these are a lack of space to really run. Not that there is any lack of running. Most of our walls are scuffed and dinged as Toddler doesn’t corner well and doesn’t always think to brace himself for a fall (and is often holding something blunt, sticky or staining). We’ve decided there’s no point trying to clean this place up until he’s in school. Everything smells like peanut butter. All our upholstery is crisp with dried yogurt.

Nick and I both grew up in the suburbs where there were always yards to play in and you could play outside mostly unsupervised. My parents built me a pink and white play-house in their back yard where I’d host imaginary dinner parties and punch my sister in secret, and Nick’s parents had a trampoline. We grew up in much bigger spaces. But there are drawbacks to suburban living as well, and since we’re determined to stay in a city where the cost of housing is almost laughably out of reach for any normal person, Toddler will remain yardless for the foreseeable future. 

Running

So we spend the couple of hours we get between the end of the workday and Toddler’s bedtime outside, running and roaming the local parks. He seems to enjoy it, and as his language develops we get to spend that time actually hearing about his day. (I say “actually” because this is a fairly new development. We’re getting sentences now, like “Quinn and I play camping,” or “No but I need a treat.”)

Sunset

This has meant that dinner has been rescheduled; we frequently rely on the Crock Pot, or have simple dinners that we can prepare quickly after bedtime. Often, I do the dinner prep when I get home from work, and the cooking much later. Such was the case with the recipe that follows.

This one comes out of my unrelenting desire for fried chicken, drumsticks being on sale at the right time, and a combination of laziness and cheapness that I think has come to comprise my personal brand. I needed fried chicken urgently, as you do. But a buttermilk brine was out of the question – there was simply no time.

So, with a vague recollection of something I saw on the Food Network one time when there was nothing else on and we’d run out of movies we could both agree on, I put the chicken in a bag with some mustard and hoped for the best.

IMG_2426[1]

Let’s not bother with understatement: This mustard fried chicken was the best fried chicken I’ve had in 2014. And I have eaten more fried chicken in 2014 than is decent.

It would probably be even better with a longer marinate; I did it for an hour and a bit, and it was still very flavourful. The mustard (plus salt) works the way that buttermilk does, as it’s acidic and tenderizes the meat while flavouring it at the same time. But because it’s such a strong flavour, it does it in a lot less time. I think this one’s a keeper.

Fried chicken.

Mustard fried chicken

(Serves 2. Maybe 3. But probably 2.)

  • 6 chicken drumsticks
  • 2 tbsp. yellow (American) mustard
  • 2 tsp. salt, divided
  • 1 1/2 cups all-purpose flour
  • 1 tsp. ground black pepper
  • Honey (optional)
  • Peanut, vegetable or canola oil (for frying)

Put six chicken legs in a plastic bag. Splurtch the mustard and sprinkle about a teaspoon of salt over the chicken. Mush the chicken and mustard and salt together in the bag, and let them sit for maybe an hour.

Pour an inch of peanut, vegetable or canola oil into a cast-iron or otherwise heavy pan. Heat the oil to about 350°F.

In another bag, combine the flour, remaining salt, and pepper. Mix well. Remove the chicken from the first bag in to this second bag. With one hand holding the bag closed, shake the chicken as if it’s 1993 and you’re making Shake ‘n Bake.

Place the chicken in the hot oil and cook until crisp and golden on one side (about four minutes), then turn the legs over and cook another four or five minutes, until cooked through.

Drain the chicken on a wire rack (position it over a plate for easy clean-up) for five minutes. Drizzle lightly with honey, and serve hot.

IMG_2431[1]

Oh! I forgot to mention. I joined Instagram – if you’re there too, let’s connect!

Salvadoran chicken with gravy.

emily

As you may recall, a while back I mentioned I was headed to El Salvador. I think I promised to tell you more about it. One day I am going to achieve work-life balance and then I will actually do the things I say I’m going to do! It’s going to be great.

Anyway, I did go to El Salvador in September. I was invited to tag along with a bunch of people from World Vision Canada on behalf of another site I write for, UrbanMoms.ca, and my job was to learn about poverty and child labour and write about what I saw and how Canadians could help. It was pretty much the ideal situation for a writer; they fed me and gave me endless fact-checking support and information and no specific instructions, just to write. I followed, and I listened. And, of course, I ate.

If you want to learn about someone, find out what they like to eat. If you want to learn about a place, eat its food and visit its public markets and grocery stores and food stalls.

On our third day there, after spending time with kids in a couple of rural villages, we went to San Julian for an early dinner. We didn’t get to much in the way of tourism, but we did find our way into a market there. There were the usual things – piles of fruit and vegetables, fish on ice, and stalls selling clothing, flip flops and soccer balls. It smelled sweet and faintly musky, like ripe mangoes.

There was a stall at the entrance that sold groceries and the woman there sold fresh Salvadoran chocolate in twist-tied sandwich baggies; she also sold spices. I noticed a row of small bags containing a mix of bay leaves, peanuts and sesame seeds, among other things, and tried to communicate my curiosity – I know approximately four words in Spanish.

Elizabeth, who is from El Salvador but lives in Ontario and works at World Vision Canada and who was along with us on our travels, explained (in her beautiful accent) that it’s a kind of seasoning people in El Salvador use for turkey. Because they were only twenty-five cents a package, and because I had never seen such a thing before, I bought several.

In the bus on the way home, she explained that you toast the spices really well in a pan, then mix them with tomatoes and chicken stock and sometimes wine and use it for the sauce you use to baste the bird as it roasts. I demanded a recipe, but she said you don’t need one – “you just mix the relajo and some tomatoes and wine or beer and cook it with turkey or chicken.” If you have leftovers, you eat the turkey and gravy on sandwiches the next day.

Interesting fact: I always pay my bills in the wrong amount because I can never remember the order of digits in a number, but a set of vague instructions for a meal that ends up as sandwiches is the kind of thing I will learn instantly and store in my brain for life.

There was never a chance to eat this poultry or these sandwiches while I was actually in El Salvador. I did eat twice my body weight in pupusas, and as much fresh grilled, raw, cocktailed and ceviched seafood as I possibly could, and at one point there was fried chicken and fried yucca and orange pop and pastries filled with dulce de leche for dessert and I could have died right there because what else do you need?

On our last day before heading to the airport, I managed to get over to the grocery store in the mall across from our hotel. I found more of the spice mix, so I bought another six packages (I am not insane) and was able to translate the ingredients. So when I came home I resolved to make Salvadoran turkey and gravy and sandwiches, and then assemble my own packages of relajo from ingredients I would find at home.

Trouble is, we are a family of three and the smallest of us doesn’t eat “food” so there has been no turkey. But you know what’s smaller than turkey but as (if not more) delicious? Chicken!

I am not sure this recipe is authentic. Everywhere I looked online said you have to purée the tomatoes with the relajo and then strain it and use it as gravy, but my blender is now 12 years old and barely works and I should just throw it out but then I’d have no blender. And I am too lazy for a lot of complicated extra steps.

So here you go.

To make the relajo: mix together a handful of bay leaves, sesame seeds, peanuts, pumpkin seeds in their shells, ground oregano, and one dried guajillo chili (stem and seeds removed). It also requires annatto seeds; if you can only find ground annatto, rub it directly onto the chicken; if you can only find whole seeds, mix them into the spice blend.

Relajo

Each packet I bought varies in the amount of each thing in the mix; I estimate that you’ll need eight to 12 bay leaves, crumbled, a teaspoon of sesame seeds, two or three whole peanuts, a few pumpkin seeds, and a teaspoon or so of oregano and annatto. If you can’t find annatto – and I’m sure this is blaspheme – just use turmeric; annatto is used for colour and doesn’t have a strong flavour. You can find annatto (also called achiote) in Latin American grocery stores or online. I bought it in Vancouver at the South China Seas Trading Co. on Granville Island.

Salvadoran roast chicken with gravy

(Serves four to six people)

  • 1 x 6 to 8 lb. roasting chicken
  • 3 tbsp. olive oil
  • 1 1/2 tsp. Kosher salt
  • 1 tsp. ground black pepper
  • 1 tsp. ground annatto seed (sub. ground turmeric if not available)
  • 3 lbs. tomatoes, halved
  • 1 onion, chopped
  • 1 head of garlic, halved crosswise
  • 1 batch of relajo (see instructions above)
  • 1 cup white wine
  • 1 cup chicken stock
  • 2 tsp. Worcestershire sauce
  • Additional salt and pepper to taste

Preheat your oven to 425°F.

Ideally, you will use one pan for this – a large pan to roast the spices, cook the chicken, and then simmer the gravy. If your roasting pan is stove-to-oven-friendly, then use it for the first step. If not, use a small pan to roast your spices and then put everything together in your roasting pan.

Rub your whole chicken with olive oil, then sprinkle salt, pepper and annatto or turmeric (if using) and rub again. Fold the wings behind the back of the chicken and truss the legs – tie the legs together so that they sit close to the body. Set aside.

Over medium low heat, toast your relajo until the mix is fragrant and your sesame seeds are golden. When this is done, remove the pan from the heat and set the spices aside. Place tomatoes, onions and garlic in the pan, sprinkle with the spices, then nestle the chicken in the middle. Add wine and chicken stock, and place in the oven.

Chicken, pre-oven

Roast for between 90 and 100 minutes, until the internal temperature reaches about 165°F, or when the juices run clear when pricked with a knife. Baste every 20 to 30 minutes, rotating the pan each time for even browning.

Remove the chicken from the pan when cooked, and tent with foil for 15 to 20 minutes.

Chicken.

Meanwhile, process the tomatoes, onion, garlic, spices and chicken juices through the finest disc on your food mill or press them through a fine mesh strainer back into the pan or into a saucepan. Add Worcestershire sauce and simmer for 10 to 15 minutes.

Tomato gravy

Taste, adjusting seasonings as needed. Serve with chicken, either on sandwiches or with rice.

salvadoran dinner

Slow-cooker cabbage rolls.

I love cabbage rolls, but for years have not made them for the same reason I never make lasagna; I hate the requirement to boil a pot of water and cook each leaf before I can even get started. It sucks and I always burn myself and so I make stuffed peppers or stuffed squash instead. But then one day my mother-in-law told me that “the Ukrainian ladies told me you just put the whole cabbage in the freezer and then defrost it so you don’t have to boil it.”

I don’t know who the Ukrainian ladies are or even if I remembered the context of her statement correctly, but let me tell you – it works.

Cabbage rolls steps

Cabbage rolls just got easier to make. I much prefer forethought to effort, if I have to choose one over the other, and anything that I can do to save myself time and that also makes it so I can eat more cabbage rolls is something I am going to do over and over again. I keep re-reading that sentence and I am not convinced it even made sense but I stand by it.

I don’t pre-cook any part of these because I don’t have time to even do laundry so I am not going to take a lot of unnecessary extra steps for a weeknight dinner now that The Voice is back and every episode is two hours long.

There you go. There.

Also, it’s getting chilly again and the Crock Pot is the ultimate defense against the cold; there is something wonderful about coming in from the rain to a home that already smells like dinner. I put everything into the pot the night before and then throw it in the fridge; I just pull the food out in the morning, turn the Crock Pot on and let it go all day so it’s almost like dinner is a freebie. FREE CABBAGE ROLLS. It all just feels so right.

Morning matters.

Slow-cooker cabbage rolls

  • 1 head of green cabbage, such as savoy or Taiwanese
  • 1 large onion
  • 2 carrots
  • 2 stalks of celery
  • 4 cloves of garlic
  • 1/2 cup packed fresh parsley
  • 1 lb. lean ground beef
  • 1 lb. ground pork
  • 1 cup uncooked long-grain white rice
  • 2 eggs
  • 2 tbsp. olive oil
  • 1 tbsp. Worcestershire sauce
  • 1 tbsp. Dijon mustard
  • 2 1/2 tsp. Kosher salt
  • 2 tsp. smoked paprika
  • 1 tsp. dried savoury
  • 1 tsp. ground black pepper
  • 1 28 oz. can crushed tomatoes
  • 2 cups beef stock

Okay. So. The night before you want to roll your cabbage rolls for the following night’s dinner, put the cabbage in your freezer. When you wake up the next morning, take the cabbage out of the freezer and put it in a colander in the sink and let it defrost. Your mileage here may vary – my apartment tends to be on the warm side, so mine defrosted just fine; if you are unsure whether you can get your cabbage defrosted in time, start even earlier, and just let it defrost in the fridge over a day or two.

Meanwhile, finely chop your onion, carrots, celery, garlic and parsley. You can do this in the food processor if you’re feeling kind of lazy. I was. Put everything in a bowl, then scoop half out and put it into a different bowl. Set aside.

Add your beef, pork, rice, eggs, Worcestershire sauce, mustard, salt, paprika, savoury, and pepper to the first bowl. Mix thoroughly. You can do this a day ahead as well, just cover and refrigerate until you’re ready to use.

In the other bowl, add the crushed tomatoes and the beef stock. Taste, and season with additional salt and pepper to taste. Again, feel free to make this ahead of time and set it aside.

When you’re ready to roll, pour about a cup of the sauce mixture into the bottom of the Crock Pot. Cut the core out of your cabbage and discard it. Peel the leaves off, and cut out the thick part of the centre rib. Place a few tablespoons of your meat mixture into the top of the leaf, then roll it up, folding the sides in as you go. Place each roll into the pot as you go, ladling sauce over top as you complete each layer.

I ended up with about 20 cabbage rolls, which is too many to eat all at once but they freeze very well.

When you’re finished, pour the remaining sauce over top, cover with the lid, then either refrigerate until you’re ready to make these (if you’re doing it the night before), or cook them right away. Set your slow cooker to low, and cook for ten hours.

Serve with pickles.

Cabbage rolls with pickles

Toddler muffins.

Never eats.

I read the books about French babies and how they eat everything, and I assumed that mine would be an enthusiastic omnivore – how could he not be?! And in the beginning, he was – he ate his purees, grains and yogurts happily, lapping up anything I put in front of him and smacking his lips with great delight. Around the time we began to introduce textures, though, something went horribly awry.

The kid doesn’t eat.

Well, he doesn’t eat much, I should say. He’ll eat oatmeal, and applesauce, and yogurt, and peanut butter toast, and all the crackers. He likes cookies, and will eat just about anything I blend into a mush, except for purple things. He likes watermelon in slices, but won’t eat a sliced strawberry. Blueberries and grapes are untouchable, potatoes and pasta an insult. He was handed a hot dog at a birthday party and abhorred it. He tasted a bite of hummus off a cracker at Costco and burst into tears.

Needless to say, he is not an adventurous eater, though he did taste a snow pea the other day and took two bites before throwing it on the ground, which I think was progress. One day he might eat a green bean! One can hope. I keep handing him things, and putting food in front of him, which is about the best I can do, right? I don’t know.

His daycare requires us to send him meals, and I am told that he eats brilliantly when he’s there, so I send him nutrient-dense soups and things to make up for what he doesn’t eat at home. For breakfast, I send him muffins.

He gets all kinds – I made some pink ones for him last week that used up a pound of strawberries and the rest of my rolled oats. He’s had peach muffins, and subtly cheesy corn muffins, and gluten-free coconut flour muffins for something a little different; he likes a meal he can cart around, and a handful of carbs meets his almost all of his needs. My peanut butter-banana-chocolate muffins though, those are his favourite. And even though they aren’t a seasonal thing – I make them whenever the bananas at the little natural foods store on the corner are brown and sad-looking (and cheap).

Gross bananas.

I finally got a photo of him eating one today (after posting on Facebook that I figured it would be impossible). So here’s the recipe. I like to think these are reasonably healthy.

Any of the weird ingredients can be subbed for stuff you have; I bought a lifetime supply of coconut sugar when Nick was diagnosed with diabetes because it’s a low-GI sweetener, even though it later turned out that all sugar acts like refined white sugar in the blood for a diabetic no matter how pure my intentions. You can use brown sugar. Any other oil will work fine in place of the grapeseed. You can omit the ground flax if you don’t have it, but I find that by using entirely whole wheat flour in these, the recipe benefits from the bit of leavening the flax provides; if don’t have flax and like a lighter muffin, use half whole-wheat and half white all-purpose flour.

Toddler_MuffinToddler muffins (or: Peanut butter banana muffins)

Makes 12.

  • 1 1/2 cups whole wheat flour
  • 1 tsp. baking soda
  • 1 tsp. baking powder
  • 1/2 tsp. salt
  • 2 or 3 ripe – brown – bananas (if you have smaller bananas, use 3; if you only have those giant monster ones that are like a foot long, two will suffice), mashed
  • 1/2 cup peanut butter (chunky or smooth, whatever you prefer)
  • 1/2 cup coconut sugar
  • 3 tbsp. cocoa powder
  • 1 tsp. vanilla extract
  • 1 egg
  • 1/4 cup grapeseed oil
  • 1 cup semi-sweet chocolate chips
  • 1/2 cup sunflower seeds
  • 1 tbsp. ground flaxseed

Preheat your oven to 375°F. Grease a muffin tin, or fill the tin with 12 paper liners. I am cheap, so I just grease.

Combine flour, baking soda, baking powder, and salt in a bowl. Set aside.

In another larger bowl, mix bananas, peanut butter, coconut sugar, cocoa powder, egg, and oil until thoroughly combined. Stir in chocolate chips, sunflower seeds, and flaxseed – mix well.

Stir the dry ingredients into the wet ingredients and mix until just combined.

Spoon into your prepared muffin tin. Bake for 15-20 minutes, until a toothpick inserted into the centre of one of the middle ones comes out clean.

Remove from the oven and cool in the pan for five minutes before turning the muffins out onto a wire rack to cool. If you are going to freeze these for daycare, let them cool all the way before putting them into a large freezer bag. If you like bananas and are just going to eat these yourself, go nuts.

Peanut butter chocolate banana muffins

Here are the B-sides – a handful of this morning’s attempts to catch the toddler in action.

Strawberry Salsa.

Berry salsa


My kitchen is sticky with berry mess, and it is wonderful. I have blended them into smoothies for breakfast, pureed and diced them for muffins for the toddler, and fantasized about weather reliable enough for a pavlova that drips with lemon curd and macerated berries. Strawberries are back! I am not cranky about anything today.

But we have a lot of them, because I never know how much is enough until I have too many. No math skills, this one. I still have frozen strawberries in the freezer from last year’s picking/buying binge. Who could say no to summer fruit after too many months of last autumn’s apples?! Impossible.

So, we do what we can with them, and we do everything with them, and tonight because we were having fried white fish, I decided to make a salsa of them; I am very happy to report that my total inability to calculate even the simplest thing has left me with an abundance of salsa – I will get to eat it later, while watching TV, with a big bowl of tortilla chips. Success, no matter how you do the math. Especially if you can wrangle someone else to scrub the sticky off the kitchen floor and counters.

If you don’t like cilantro, I’ve made this with basil and it’s equally good. Also I take the seeds out of the jalapeno peppers but leave the membrane, because I like this salsa just a little bit spicy.

Strawberry Salsa

  • 2 cups diced strawberries, in cubes of about 1/4″
  • 1 large avocado, diced the same
  • 1 large or 2 medium jalapeno peppers, seeded and finely chopped
  • 3 scallions, finely chopped
  • 1/4 cup packed fresh cilantro, roughly chopped
  • Zest and juice of one lime
  • 2 tbsp. extra virgin olive oil
  • 1 tsp. freshly ground black pepper
  • 1/2 tsp. sea salt

Combine all ingredients in a large bowl. Toss to combine, and let sit for 30 minutes in the fridge before serving. Serve over chicken, fish, grilled halloumi, or in a bowl on its own with all the chips you can eat.

More salsa

Pot roast weather.

Pot roast ingredients

We were supposed to spend Saturday afternoon turning the soil in our garden plot and planting the cucumbers and beets I’m hoping to be overrun with at the end of the summer – possibly the hardest part about coping with this time of year is that nothing new has grown to the point of being edible yet, and I’ve eaten all my pickles from last year. It’s a dark time.

Carrots, mostly.

But it rained, and we had no other plans. And in these dark times the best thing you can do for your mood and your health is to brown a large piece of meat in bacon fat and roast it low and so slow in a broth that just gets richer and tastier by the hour.

I spent the afternoon wearing an apron and cooking a pot roast. (I did burn my fingertips and swear like a wounded sailor though, so don’t worry – nothing’s really changed.) I don’t make many pot roasts, but we got quite a few chuck roasts with a half-cow we bought and the Googles don’t suggest much in the way of alternative uses for this particular roast. We’ve been making the most of it.

Onions.

And pot roast can be such an inedible thing. Why are they so often so dry? What cooking process could possibly render a cut of meat so grey? Even in restaurants, where pot roast finds its way onto menus under the guise of comfort food, I’ve had the kind of stringy meat that turns to cotton wads in your throat, the kind where you are asking a lot of your esophagus just to get it down.

The bouquet.

My grandmother made a good pot roast, though, so I knew that there was hope. She’d simmer hers in a small stock pot on the stove for hours, and the meat that emerged from the weird hodge-podge of ingredients she threw into the pot would emerge fragrant and tender. The texture was like pulled pork when you cut into it, and the meat was no trouble to chew or swallow.

Pre-cooked pot roast.

Her secret ingredient was coffee, and I remember thinking “oh, I’m not going to like that” when I saw her add it to the roast. But hours passed and the meat simmered and the flavours in the pot melded and turned themselves into something else, and when she spooned the gravy over the meat at the dinner table, I marveled at how rich and delicious it was, and how I couldn’t even taste the coffee. But I could taste that something was distinct, and if I hadn’t seen her put the ingredients into the pot I’d never have guessed at what it was.

My version is a little different, but the ingredients are similar. It’s laziness more than anything that makes mine different – throwing something in the oven for hours and hours just feels like less work than monitoring something on the stove top. There’s not a lot to this recipe, and it can be assembled in minutes; it just cooks for about four hours, which is the perfect amount of time for whiling away a rainy afternoon. And if there’s still cold wind and snow where you are, this will warm your home right through.

For cooking, it will be ideal if you have a pot that can transition from stove to oven. If you don’t, that’s okay. Just make sure the vessel you cook your beef in has a lid and is deep enough that the cooking liquid comes halfway up the sides of the meat.

Cooked pot roast.

One last thing – I mention that you should bundle your herbs in cheesecloth and tie them into a bundle – a bouquet garni! – but if you don’t have cheesecloth or string, just throw the herbs in whole and individually and then fish them out at the end. Also, I know I’ve shown rosemary in the photo above, but it’s really better if you use fresh thyme. Rosemary, when cooked for a very long time, tends to impart a bitter flavour that I am not fond of. Thyme stalks are not woody, and do not impart that same bitterness.

Slices.

Pot roast

(Serves four.)

  • 3 tbsp. olive oil or (ideally) bacon fat
  • 1 x 4-5 lb. beef chuck roast
  • 3 sprigs parsley
  • 1 sprig thyme
  • 2 bay leaves
  • 2 large onions, quartered
  • 1 head of garlic, cloves separated, peeled and chopped
  • 2-4 cups beef stock (or chicken, if that’s all you have)
  • 1 355mL/12 oz. can of cola
  • 1 tbsp. Worcestershire sauce
  • 1 tbsp. instant coffee granules
  • 1 lb. carrots, peeled and chopped into 2-inch chunks
  • Salt and pepper

Preheat your oven to 275°F.

Generously season your beef with salt and pepper. Set aside.

Using a piece of cheesecloth, bundle your parsley, thyme, and bay leaves. Roll tightly, then tie with string to secure. Set aside.

Heat fat in your large pot over medium-high heat. Brown your onions on each side, then remove to a plate.

Add your beef to the pot, and sear each side of the meat. You want to achieve a deep brown on all sides of the meat. Remove the meat to a plate and set aside.

Add the garlic to the pot, and cook for about one minute, stirring frequently. Add the cola to deglaze – make sure to scrape the browned bits off the bottom of the pot using a wooden spoon. Add the Worcestershire sauce and coffee granules.

Add onions back to the pot, spreading so that they cover the whole bottom. Add the meat back to the pot, placing it on top of the onions. Add the herb bundle, then the carrots, and pour enough stock to come halfway up the meat.

Give it a quick taste – is it delicious? Yay! Is it not salty enough? Add more salt.

Cover and cook for 4 hours. Serve with noodles – we had knopfle – or mashed potatoes.