Something to Read: Hunt, Gather, Cook and The Homemade Pantry

30days

I’m not doing great at keeping to my schedule. Last night I ate some expired salad dressing that may have gone off and some shrimp that might not have been fresh and spent the evening in a state of discomfort, trying to focus on The Voice and also complaining a lot about my bad stomach feelings. I did not have an enthusiasm-filled day today.

So, to compensate, I’d like to tell you about two books from two bloggers I love and think you’ll love too.

The first one is Hunt, Gather, Cook, by Hank Shaw.

hagc

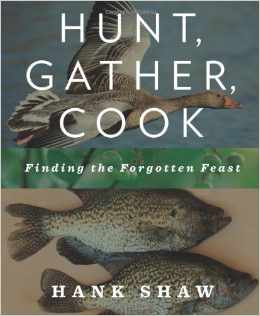
Hank Shaw is so cool. He hunts, forages, fishes, cooks, and writes about it, which is basically everything I look for in a marriage partner. I like to live with someone who will bring me wild meat every so often, and who keeps me in fish all summer. Who doesn’t, though … right?

I was excited about Hank’s book because I knew it would contain recipes we would use. He’s got recipes for big game, like deer and moose, and for ducks and geese (which we get on occasion), and fish (though I had hoped there would be more on trout) and crabs, and since he’s from the west coast, a lot of what he talks about is relevant to our proteins of choice/availability. He writes about fruit and flower wine-making, meat curing and sausage making, and his chapters on foraging are the stuff of aspirations, at least for me. I long to trudge through the woods to find nettles and fiddleheads, which Nick calls  “hiking” (and I don’t care for it).

You can read Hank’s blog at Hunter Angler Gardner Cook and if you haven’t already been reading his posts, you should definitely start, especially if you are interested in sustainable diets and interesting recipes for wild meats and vegetation. He was profiled in Field & Stream, which I think proves he’s legit. I’ve never read Field & Stream, but I assume it is to outdoorsy people as Bon Appetit is to indoorsy people. Gospel.

When we first started smoking fish, we turned to Hank Shaw first and he did not let us down. And what’s helpful about Hank’s blog is that when I need to learn how to do something, like butterfly a fish, the instructions are probably there. He’s like a really helpful friend you can call up anytime you have a weird question about animal parts. If only my IRL friends could do what Hank does for me.

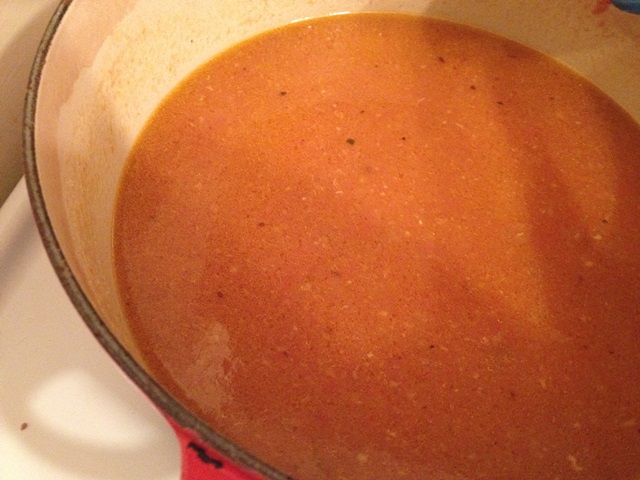
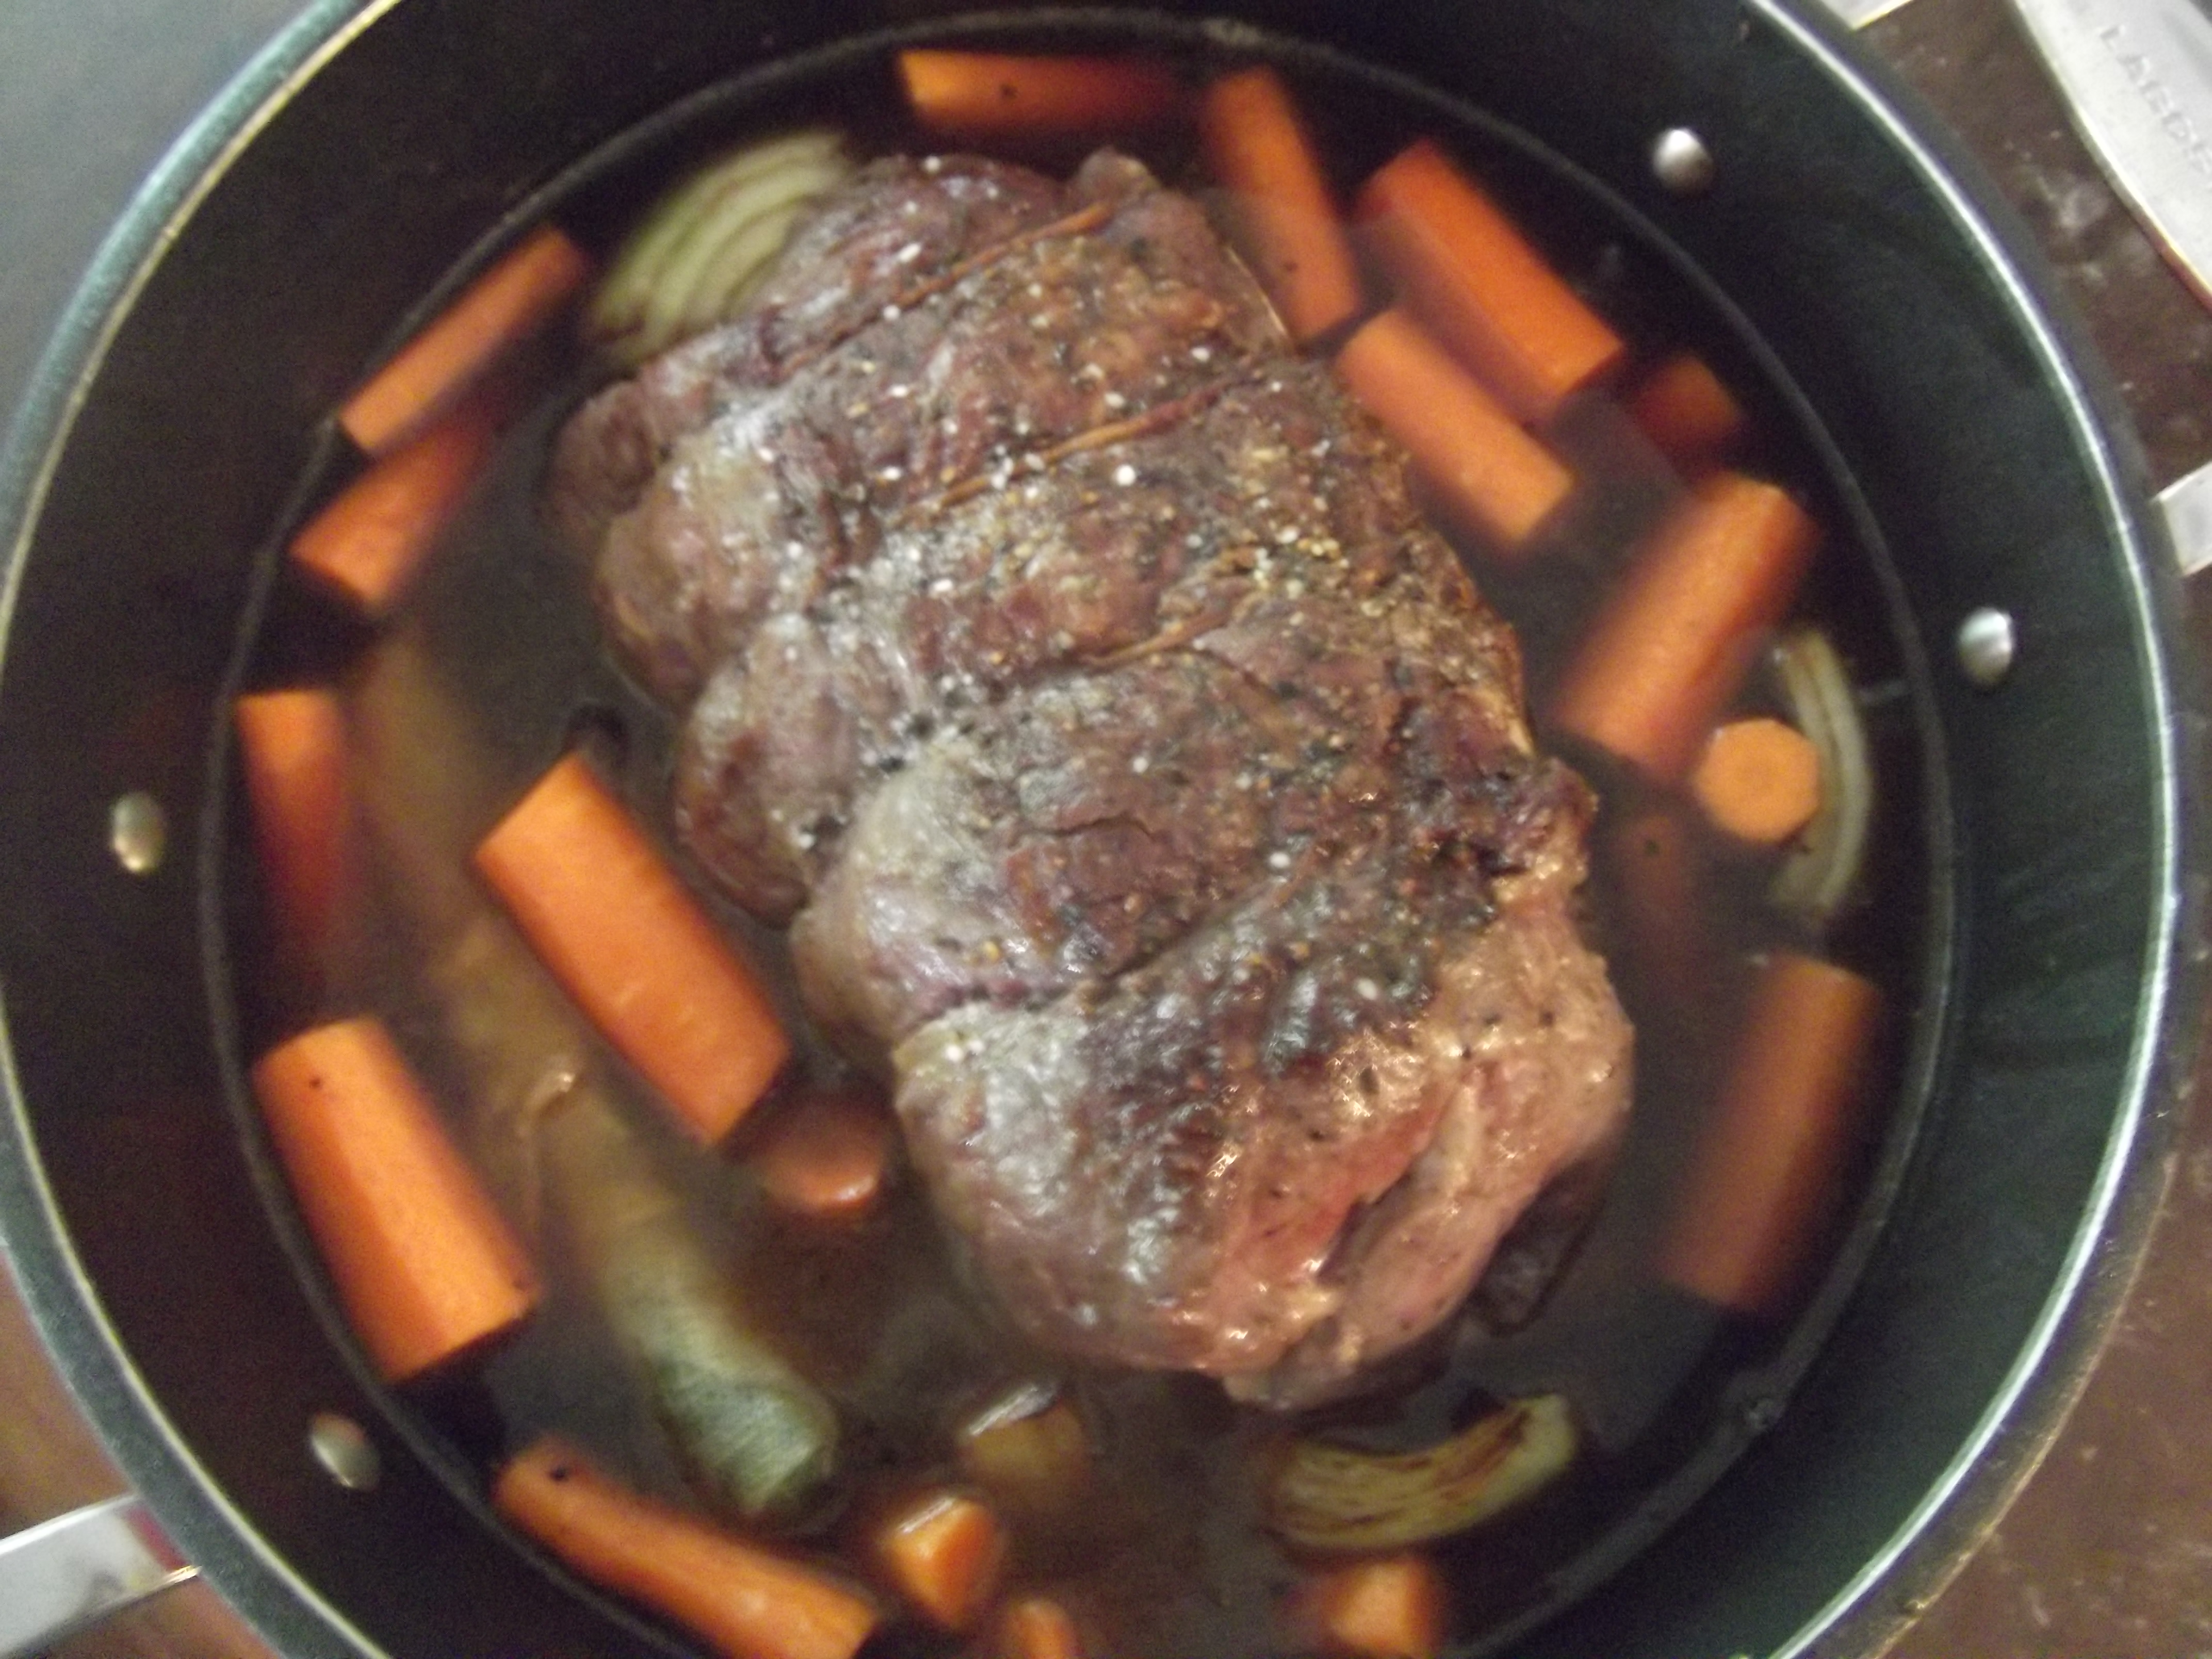
The following recipe is from his section on wild greens, and the time is right to make this dish. If you have nettles nearby, grab some gloves, pick some weeds, and turn them into a creamy, extremely iron- and Vitamin C-rich risotto for dinner this week.

Nettle Risotto

(Serves 2.)

  • 1 cup blanched nettles (about six handfuls of raw nettles boiled for three minutes)
  • 3 tbsp. unsalted butter
  • 1 large shallot, finely chopped
  • 3 cloves garlic, minced
  • 1 cup Arborio rice (I use half rice and half pearl barley)
  • 1 tsp. salt
  • 4 cups homemade or low-sodium chicken, vegetable or beef stock
  • 1/4 cup grated Pecorino cheese

Once your greens are blanched and cool, drain them and roll them into a tea towel and squeeze out any excess water. Chop them as finely as you can.

Heat stock to a gentle simmer.

In a heavy-bottomed pan over medium-high heat, melt two tablespoons of the butter. Once the butter is melted and has stopped frothing, add shallot, garlic, and rice, stirring for a minute or so until rice begins to look opaque and is nicely coated in fat.

Stir one cup of stock into the rice with the salt. Stir frequently, and when the first cup of stock has been absorbed by the rice, add the second cup. Repeat the waiting and stirring.

When it comes time to add the next round of stock, add your greens as well, this time with about a half a cup of stock. Your stirring should be more frequent now. Keep adding water in half-cup amounts until your rice is al dente and has reached the consistency you prefer. I always use all four cups, as I like my risotto loose.

Add the cheese and the last bit of butter. Stir, taste, and adjust seasonings as needed. Serve immediately.


The next blogger I’d like to tell you about is Alana Chernila of Eating from the Ground Up. I’ve been reading her blog since almost the beginning, marveling at how lovely her life seems out there in the Berkshires, wherever that is (I assume it’s like Narnia and I have to find a secret passageway to get there). Her book, The Homemade Pantry: 101 Foods You Can Stop Buying and Start Making has improved my life in simple, wonderful ways. I don’t buy ricotta anymore. There’s no need.

the-homemade-pantry


The best thing in this book might be the recipe for homemade instant oatmeal – ween yourself off that terrible-for-you sugary packet-stuff and start making instant oatmeal with rolled oats from your pantry – there’s a bonus recipe for homemade brown sugar, if you need it. This has been a life-saver for me with Toddler, who eats too much sugary crap but who can be tricked with better-quality stuff if you catch him before he’s formed a habit for the store-bought version. I’ve made it with Porridge Oats, which comes with bran and flaxseed in it, and it works just as well.

The recipe I’ve made over and over is her recipe for ricotta, which, if you leave it long enough, becomes paneer. A batch of ricotta is cheaper than the stuff you buy in plastic tubs from the supermarket, and it’s infinitely better and much more impressive when you serve it to friends. The recipe makes about a cup and a half, but I usually double it because why not.

Ricotta

  • 1/2 gallon whole milk
  • 1/3 cup fresh lemon juice (about two lemons)
  • 1/2 cup heavy cream
  • Sea salt to taste

Add the milk, lemon juice and cream to a cold pot (with a heavy bottom) off  the heat, and stir for a few seconds.

Affix a candy thermometer to the side of your pot, and warm the pot over low heat. You want to warm the milk mixture to 175°F, which at this low temperature should take somewhere around 45 minutes. After 30 minutes, be vigilant about checking. Stir a couple of times, here and there, as you putter around doing other things.

When you reach 175°F, turn the heat up to medium-high. Do not stir. Watch your pot, and wait for it to get to 205°F. Should take three to five minutes. Don’t let it boil.

When you reach 205°F, take the pot off the heat and let it sit for 10 minutes.

Line a fine-mesh sieve with cheesecloth, and strain your mixture. Strain it over a bowl or something, as you will want to save the whey that’s left behind – it’s beautiful in homemade bread, and I’ve also used it in muffins and soups. Leave the cheese for another 10 minutes, then sprinkle with salt. Serve warm, as is, with toasted nuts and honey, or chill it for later use, or use it as an ingredient for something else altogether.

Salvadoran chicken with gravy.

emily

As you may recall, a while back I mentioned I was headed to El Salvador. I think I promised to tell you more about it. One day I am going to achieve work-life balance and then I will actually do the things I say I’m going to do! It’s going to be great.

Anyway, I did go to El Salvador in September. I was invited to tag along with a bunch of people from World Vision Canada on behalf of another site I write for, UrbanMoms.ca, and my job was to learn about poverty and child labour and write about what I saw and how Canadians could help. It was pretty much the ideal situation for a writer; they fed me and gave me endless fact-checking support and information and no specific instructions, just to write. I followed, and I listened. And, of course, I ate.

If you want to learn about someone, find out what they like to eat. If you want to learn about a place, eat its food and visit its public markets and grocery stores and food stalls.

On our third day there, after spending time with kids in a couple of rural villages, we went to San Julian for an early dinner. We didn’t get to much in the way of tourism, but we did find our way into a market there. There were the usual things – piles of fruit and vegetables, fish on ice, and stalls selling clothing, flip flops and soccer balls. It smelled sweet and faintly musky, like ripe mangoes.

There was a stall at the entrance that sold groceries and the woman there sold fresh Salvadoran chocolate in twist-tied sandwich baggies; she also sold spices. I noticed a row of small bags containing a mix of bay leaves, peanuts and sesame seeds, among other things, and tried to communicate my curiosity – I know approximately four words in Spanish.

Elizabeth, who is from El Salvador but lives in Ontario and works at World Vision Canada and who was along with us on our travels, explained (in her beautiful accent) that it’s a kind of seasoning people in El Salvador use for turkey. Because they were only twenty-five cents a package, and because I had never seen such a thing before, I bought several.

In the bus on the way home, she explained that you toast the spices really well in a pan, then mix them with tomatoes and chicken stock and sometimes wine and use it for the sauce you use to baste the bird as it roasts. I demanded a recipe, but she said you don’t need one – “you just mix the relajo and some tomatoes and wine or beer and cook it with turkey or chicken.” If you have leftovers, you eat the turkey and gravy on sandwiches the next day.

Interesting fact: I always pay my bills in the wrong amount because I can never remember the order of digits in a number, but a set of vague instructions for a meal that ends up as sandwiches is the kind of thing I will learn instantly and store in my brain for life.

There was never a chance to eat this poultry or these sandwiches while I was actually in El Salvador. I did eat twice my body weight in pupusas, and as much fresh grilled, raw, cocktailed and ceviched seafood as I possibly could, and at one point there was fried chicken and fried yucca and orange pop and pastries filled with dulce de leche for dessert and I could have died right there because what else do you need?

On our last day before heading to the airport, I managed to get over to the grocery store in the mall across from our hotel. I found more of the spice mix, so I bought another six packages (I am not insane) and was able to translate the ingredients. So when I came home I resolved to make Salvadoran turkey and gravy and sandwiches, and then assemble my own packages of relajo from ingredients I would find at home.

Trouble is, we are a family of three and the smallest of us doesn’t eat “food” so there has been no turkey. But you know what’s smaller than turkey but as (if not more) delicious? Chicken!

I am not sure this recipe is authentic. Everywhere I looked online said you have to purée the tomatoes with the relajo and then strain it and use it as gravy, but my blender is now 12 years old and barely works and I should just throw it out but then I’d have no blender. And I am too lazy for a lot of complicated extra steps.

So here you go.

To make the relajo: mix together a handful of bay leaves, sesame seeds, peanuts, pumpkin seeds in their shells, ground oregano, and one dried guajillo chili (stem and seeds removed). It also requires annatto seeds; if you can only find ground annatto, rub it directly onto the chicken; if you can only find whole seeds, mix them into the spice blend.

Relajo

Each packet I bought varies in the amount of each thing in the mix; I estimate that you’ll need eight to 12 bay leaves, crumbled, a teaspoon of sesame seeds, two or three whole peanuts, a few pumpkin seeds, and a teaspoon or so of oregano and annatto. If you can’t find annatto – and I’m sure this is blaspheme – just use turmeric; annatto is used for colour and doesn’t have a strong flavour. You can find annatto (also called achiote) in Latin American grocery stores or online. I bought it in Vancouver at the South China Seas Trading Co. on Granville Island.

Salvadoran roast chicken with gravy

(Serves four to six people)

  • 1 x 6 to 8 lb. roasting chicken
  • 3 tbsp. olive oil
  • 1 1/2 tsp. Kosher salt
  • 1 tsp. ground black pepper
  • 1 tsp. ground annatto seed (sub. ground turmeric if not available)
  • 3 lbs. tomatoes, halved
  • 1 onion, chopped
  • 1 head of garlic, halved crosswise
  • 1 batch of relajo (see instructions above)
  • 1 cup white wine
  • 1 cup chicken stock
  • 2 tsp. Worcestershire sauce
  • Additional salt and pepper to taste

Preheat your oven to 425°F.

Ideally, you will use one pan for this – a large pan to roast the spices, cook the chicken, and then simmer the gravy. If your roasting pan is stove-to-oven-friendly, then use it for the first step. If not, use a small pan to roast your spices and then put everything together in your roasting pan.

Rub your whole chicken with olive oil, then sprinkle salt, pepper and annatto or turmeric (if using) and rub again. Fold the wings behind the back of the chicken and truss the legs – tie the legs together so that they sit close to the body. Set aside.

Over medium low heat, toast your relajo until the mix is fragrant and your sesame seeds are golden. When this is done, remove the pan from the heat and set the spices aside. Place tomatoes, onions and garlic in the pan, sprinkle with the spices, then nestle the chicken in the middle. Add wine and chicken stock, and place in the oven.

Chicken, pre-oven

Roast for between 90 and 100 minutes, until the internal temperature reaches about 165°F, or when the juices run clear when pricked with a knife. Baste every 20 to 30 minutes, rotating the pan each time for even browning.

Remove the chicken from the pan when cooked, and tent with foil for 15 to 20 minutes.

Chicken.

Meanwhile, process the tomatoes, onion, garlic, spices and chicken juices through the finest disc on your food mill or press them through a fine mesh strainer back into the pan or into a saucepan. Add Worcestershire sauce and simmer for 10 to 15 minutes.

Tomato gravy

Taste, adjusting seasonings as needed. Serve with chicken, either on sandwiches or with rice.

salvadoran dinner

Slow-cooker cabbage rolls.

I love cabbage rolls, but for years have not made them for the same reason I never make lasagna; I hate the requirement to boil a pot of water and cook each leaf before I can even get started. It sucks and I always burn myself and so I make stuffed peppers or stuffed squash instead. But then one day my mother-in-law told me that “the Ukrainian ladies told me you just put the whole cabbage in the freezer and then defrost it so you don’t have to boil it.”

I don’t know who the Ukrainian ladies are or even if I remembered the context of her statement correctly, but let me tell you – it works.

Cabbage rolls steps

Cabbage rolls just got easier to make. I much prefer forethought to effort, if I have to choose one over the other, and anything that I can do to save myself time and that also makes it so I can eat more cabbage rolls is something I am going to do over and over again. I keep re-reading that sentence and I am not convinced it even made sense but I stand by it.

I don’t pre-cook any part of these because I don’t have time to even do laundry so I am not going to take a lot of unnecessary extra steps for a weeknight dinner now that The Voice is back and every episode is two hours long.

There you go. There.

Also, it’s getting chilly again and the Crock Pot is the ultimate defense against the cold; there is something wonderful about coming in from the rain to a home that already smells like dinner. I put everything into the pot the night before and then throw it in the fridge; I just pull the food out in the morning, turn the Crock Pot on and let it go all day so it’s almost like dinner is a freebie. FREE CABBAGE ROLLS. It all just feels so right.

Morning matters.

Slow-cooker cabbage rolls

  • 1 head of green cabbage, such as savoy or Taiwanese
  • 1 large onion
  • 2 carrots
  • 2 stalks of celery
  • 4 cloves of garlic
  • 1/2 cup packed fresh parsley
  • 1 lb. lean ground beef
  • 1 lb. ground pork
  • 1 cup uncooked long-grain white rice
  • 2 eggs
  • 2 tbsp. olive oil
  • 1 tbsp. Worcestershire sauce
  • 1 tbsp. Dijon mustard
  • 2 1/2 tsp. Kosher salt
  • 2 tsp. smoked paprika
  • 1 tsp. dried savoury
  • 1 tsp. ground black pepper
  • 1 28 oz. can crushed tomatoes
  • 2 cups beef stock

Okay. So. The night before you want to roll your cabbage rolls for the following night’s dinner, put the cabbage in your freezer. When you wake up the next morning, take the cabbage out of the freezer and put it in a colander in the sink and let it defrost. Your mileage here may vary – my apartment tends to be on the warm side, so mine defrosted just fine; if you are unsure whether you can get your cabbage defrosted in time, start even earlier, and just let it defrost in the fridge over a day or two.

Meanwhile, finely chop your onion, carrots, celery, garlic and parsley. You can do this in the food processor if you’re feeling kind of lazy. I was. Put everything in a bowl, then scoop half out and put it into a different bowl. Set aside.

Add your beef, pork, rice, eggs, Worcestershire sauce, mustard, salt, paprika, savoury, and pepper to the first bowl. Mix thoroughly. You can do this a day ahead as well, just cover and refrigerate until you’re ready to use.

In the other bowl, add the crushed tomatoes and the beef stock. Taste, and season with additional salt and pepper to taste. Again, feel free to make this ahead of time and set it aside.

When you’re ready to roll, pour about a cup of the sauce mixture into the bottom of the Crock Pot. Cut the core out of your cabbage and discard it. Peel the leaves off, and cut out the thick part of the centre rib. Place a few tablespoons of your meat mixture into the top of the leaf, then roll it up, folding the sides in as you go. Place each roll into the pot as you go, ladling sauce over top as you complete each layer.

I ended up with about 20 cabbage rolls, which is too many to eat all at once but they freeze very well.

When you’re finished, pour the remaining sauce over top, cover with the lid, then either refrigerate until you’re ready to make these (if you’re doing it the night before), or cook them right away. Set your slow cooker to low, and cook for ten hours.

Serve with pickles.

Cabbage rolls with pickles

Green hot sauce.

Serrano and jalapeno peppers

If you have ever thought of pepper-spraying your entire family, but didn’t have the nerve, well, I have an idea for you.

We are now in my very favourite time of the year, because it’s still hot enough to run around without sleeves but the produce is at its most awesome, and I can’t stop blowing my paycheque on ridiculous quantities of stone fruit, tomatoes, and peppers. Nick swore out loud on Sunday when I decided his penance for a weekend camping trip was to Tetris the hundred pounds of farm market bounty I’d managed to lug home into the fridge; there is simply no more room, and I can’t stop. It’s too good. It’s all too good.

“You have to do something about this,” he said, shoving the door closed. “No one needs this much damn zucchini.”

Well, I beg to differ. Let’s not even talk about everything that’s suddenly ripe in the garden. Nick certainly doesn’t want to talk about it.

So, because I am responsible and have an unlimited tolerance for a humid, sweltering apartment, I have been canning the many things I brought home, because the only thing that makes Nick happier than a fridge that won’t close are cupboards that can’t contain the groceries. I made hot sauce. It’s basically sriracha, but green.

We all paid a little bit for this, but it was worth it. Open a window if you do this; if you have a camp stove or a barbecue with a side burner, then cook this outside. Or, if everyone you live with is being a real jerk about the harvest season, then reduce a pound and a half of hot peppers with all their seeds right smack in the middle of your 900 square-foot apartment and listen to them whine and whine and whine.

They’ll forget all about it when they’re spooning green gold onto their sausages come February.

Note: Ideally you will make this using a food mill. If you don’t have a food mill, start by seeding the peppers (if you don’t want this hot-damn hot), then process in a blender or food processor before proceeding to the simmering/reduction stage. The finished product is not too too hot; it’s flavourful with a nice, slow burn.

Green hot sauce

Homemade green hot sauce

(Makes about five 250mL/1-cup jars.)

  • 1 1/2 lbs. serrano or jalapeño peppers, or a combination
  • 1 lb. onion, peeled and chopped
  • 2 heads garlic, cloves separated and peeled
  • 3 cups distilled white vinegar
  • 3 tbsp. granulated sugar
  • 4 tsp. Kosher salt

Remove the stems from your peppers and chop them roughly. Throw them into a heavy-bottomed, non-reactive pot (such as enameled cast iron or stainless steel) with all the other ingredients, and bring them to a simmer over medium-high heat.

Cover, and cook for 15 minutes until soft.

Meanwhile, sterilize 5 jars in a large stock pot; you’ll want to boil the jars in water that comes to about two inches over the tops of the jars. Boil for 20 minutes.

Remove the chilies from the heat, and spoon the peppers and liquid into a food mill positioned over a large glass bowl. Process through the food mill until there’s nothing more running through. Scrape the bottom of the food mill into the bowl.

Pour strained pepper mixture back into your pot, return to medium heat, and simmer for 20 to 30 minutes, until reduced by about half.

Spoon into sterilized jars and wipe the rims with a piece of damp paper towel. Tap the jars to dislodge any trapped air. Place sterilized lids on top, then screw on the rings; you want them just tight enough that they’re closed, but that you could still unscrew using your thumb and finger. Process the sealed jars in boiling water for an additional ten minutes. Remove using canning tongs and let cool for 24 hours. Check that jars are sealed, and then store sealed jars in a cool, dark place. Spoon the vinegary, garlicky pungent stuff over February’s wintry food and relive the magic of a fridge brimming with life.

finished sauce

Toddler muffins.

Never eats.

I read the books about French babies and how they eat everything, and I assumed that mine would be an enthusiastic omnivore – how could he not be?! And in the beginning, he was – he ate his purees, grains and yogurts happily, lapping up anything I put in front of him and smacking his lips with great delight. Around the time we began to introduce textures, though, something went horribly awry.

The kid doesn’t eat.

Well, he doesn’t eat much, I should say. He’ll eat oatmeal, and applesauce, and yogurt, and peanut butter toast, and all the crackers. He likes cookies, and will eat just about anything I blend into a mush, except for purple things. He likes watermelon in slices, but won’t eat a sliced strawberry. Blueberries and grapes are untouchable, potatoes and pasta an insult. He was handed a hot dog at a birthday party and abhorred it. He tasted a bite of hummus off a cracker at Costco and burst into tears.

Needless to say, he is not an adventurous eater, though he did taste a snow pea the other day and took two bites before throwing it on the ground, which I think was progress. One day he might eat a green bean! One can hope. I keep handing him things, and putting food in front of him, which is about the best I can do, right? I don’t know.

His daycare requires us to send him meals, and I am told that he eats brilliantly when he’s there, so I send him nutrient-dense soups and things to make up for what he doesn’t eat at home. For breakfast, I send him muffins.

He gets all kinds – I made some pink ones for him last week that used up a pound of strawberries and the rest of my rolled oats. He’s had peach muffins, and subtly cheesy corn muffins, and gluten-free coconut flour muffins for something a little different; he likes a meal he can cart around, and a handful of carbs meets his almost all of his needs. My peanut butter-banana-chocolate muffins though, those are his favourite. And even though they aren’t a seasonal thing – I make them whenever the bananas at the little natural foods store on the corner are brown and sad-looking (and cheap).

Gross bananas.

I finally got a photo of him eating one today (after posting on Facebook that I figured it would be impossible). So here’s the recipe. I like to think these are reasonably healthy.

Any of the weird ingredients can be subbed for stuff you have; I bought a lifetime supply of coconut sugar when Nick was diagnosed with diabetes because it’s a low-GI sweetener, even though it later turned out that all sugar acts like refined white sugar in the blood for a diabetic no matter how pure my intentions. You can use brown sugar. Any other oil will work fine in place of the grapeseed. You can omit the ground flax if you don’t have it, but I find that by using entirely whole wheat flour in these, the recipe benefits from the bit of leavening the flax provides; if don’t have flax and like a lighter muffin, use half whole-wheat and half white all-purpose flour.

Toddler_MuffinToddler muffins (or: Peanut butter banana muffins)

Makes 12.

  • 1 1/2 cups whole wheat flour
  • 1 tsp. baking soda
  • 1 tsp. baking powder
  • 1/2 tsp. salt
  • 2 or 3 ripe – brown – bananas (if you have smaller bananas, use 3; if you only have those giant monster ones that are like a foot long, two will suffice), mashed
  • 1/2 cup peanut butter (chunky or smooth, whatever you prefer)
  • 1/2 cup coconut sugar
  • 3 tbsp. cocoa powder
  • 1 tsp. vanilla extract
  • 1 egg
  • 1/4 cup grapeseed oil
  • 1 cup semi-sweet chocolate chips
  • 1/2 cup sunflower seeds
  • 1 tbsp. ground flaxseed

Preheat your oven to 375°F. Grease a muffin tin, or fill the tin with 12 paper liners. I am cheap, so I just grease.

Combine flour, baking soda, baking powder, and salt in a bowl. Set aside.

In another larger bowl, mix bananas, peanut butter, coconut sugar, cocoa powder, egg, and oil until thoroughly combined. Stir in chocolate chips, sunflower seeds, and flaxseed – mix well.

Stir the dry ingredients into the wet ingredients and mix until just combined.

Spoon into your prepared muffin tin. Bake for 15-20 minutes, until a toothpick inserted into the centre of one of the middle ones comes out clean.

Remove from the oven and cool in the pan for five minutes before turning the muffins out onto a wire rack to cool. If you are going to freeze these for daycare, let them cool all the way before putting them into a large freezer bag. If you like bananas and are just going to eat these yourself, go nuts.

Peanut butter chocolate banana muffins

Here are the B-sides – a handful of this morning’s attempts to catch the toddler in action.

Bok choi with mushrooms.

bokchoi

I always think I am going to have so much time, and then I commit to a million things and am surprised when I can’t do any of them well. Well, no more! (That is probably untrue – just ask me to do something.) This summer has seen a shift in my priorities; I want to do a lot of things better, and, I hope, a few things pretty well. I want to make pickles and play outside and write books and blog posts and can homemade baby food for my friend who isn’t doing so well at the moment, and I want to do all of this without feeling like I’m letting anyone/everyone down.

So, with no small amount of despair, I let go of our community garden plot – we simply weren’t able to keep up with it. To be honest, I’m sure that we would have been kicked out eventually anyway – we hadn’t been showing up anywhere near often enough.

The community garden is a 15-minute drive to a spot we used to be able to walk to, and when we moved in December it was to a place across the street from a friend who has abundant garden space that she let us have access to. This new spot isn’t as pretty as our last place, though it is a lot bigger. Last night to make a salad I just hopped the fence across the street and thinned some of the beets, pulled a couple of radishes, and snipped some leaves off one of the heads of lettuce. We were no longer a part of the community in our other spot; here, we are neighbours.

The back part of the garden

The nice thing about our new space being so close is that I can walk by and plan dinner around what’s currently thriving; recently, it was the bok choi. Whenever I buy bok choi, it’s in heads like thick leaf lettuce, or tiny little bunches of the baby variety. I guess we’re growing a different kind, because ours is growing in the way chard does – long stalks off a middle stem with big, soft, droopy leaves. Whatever variety it is, it’s delicious.

In the spirit of saving time (because who even has any?!), here’s a quick dish of greens and mushrooms; you can use chard, or kale, or bok choi or whatever you’re growing or have bought. It makes enough for two large side dishes, or four small ones. It takes ten minutes if you’re a fast chopper.

I hope you like – and have the time – for this one.

Bok choi and mushrooms with trout

Bok Choi with Mushrooms

  • 1 tbsp. sesame oil
  • 1 tbsp. butter
  • 1 onion, halved and sliced
  • 3 cloves garlic, minced
  • 2 tsp. minced fresh ginger
  • 1/2 tsp. dried red pepper flakes
  • 1/2 tsp. ground black pepper
  • 1/2 lb. mushrooms, sliced
  • 1/2 lb. bok choi, chopped
  • 2 tbsp. soy sauce

In a skillet, heat sesame oil and butter over medium-high heat until the butter begins to sizzle.

Add onion, and cook for one minute.

Add ginger and garlic, and both kinds of pepper.

Cook for two minutes, until everything is soft and translucent and fragrant. Add mushrooms, then bok choi, then the soy sauce, and toss the whole thing together. Cover, drop heat to medium, and cook for three minutes.

Serve with fish or barbecued meats; it would also be good with fried tofu.

DSCF5175

Strawberry Salsa.

Berry salsa


My kitchen is sticky with berry mess, and it is wonderful. I have blended them into smoothies for breakfast, pureed and diced them for muffins for the toddler, and fantasized about weather reliable enough for a pavlova that drips with lemon curd and macerated berries. Strawberries are back! I am not cranky about anything today.

But we have a lot of them, because I never know how much is enough until I have too many. No math skills, this one. I still have frozen strawberries in the freezer from last year’s picking/buying binge. Who could say no to summer fruit after too many months of last autumn’s apples?! Impossible.

So, we do what we can with them, and we do everything with them, and tonight because we were having fried white fish, I decided to make a salsa of them; I am very happy to report that my total inability to calculate even the simplest thing has left me with an abundance of salsa – I will get to eat it later, while watching TV, with a big bowl of tortilla chips. Success, no matter how you do the math. Especially if you can wrangle someone else to scrub the sticky off the kitchen floor and counters.

If you don’t like cilantro, I’ve made this with basil and it’s equally good. Also I take the seeds out of the jalapeno peppers but leave the membrane, because I like this salsa just a little bit spicy.

Strawberry Salsa

  • 2 cups diced strawberries, in cubes of about 1/4″
  • 1 large avocado, diced the same
  • 1 large or 2 medium jalapeno peppers, seeded and finely chopped
  • 3 scallions, finely chopped
  • 1/4 cup packed fresh cilantro, roughly chopped
  • Zest and juice of one lime
  • 2 tbsp. extra virgin olive oil
  • 1 tsp. freshly ground black pepper
  • 1/2 tsp. sea salt

Combine all ingredients in a large bowl. Toss to combine, and let sit for 30 minutes in the fridge before serving. Serve over chicken, fish, grilled halloumi, or in a bowl on its own with all the chips you can eat.

More salsa

Pot roast weather.

Pot roast ingredients

We were supposed to spend Saturday afternoon turning the soil in our garden plot and planting the cucumbers and beets I’m hoping to be overrun with at the end of the summer – possibly the hardest part about coping with this time of year is that nothing new has grown to the point of being edible yet, and I’ve eaten all my pickles from last year. It’s a dark time.

Carrots, mostly.

But it rained, and we had no other plans. And in these dark times the best thing you can do for your mood and your health is to brown a large piece of meat in bacon fat and roast it low and so slow in a broth that just gets richer and tastier by the hour.

I spent the afternoon wearing an apron and cooking a pot roast. (I did burn my fingertips and swear like a wounded sailor though, so don’t worry – nothing’s really changed.) I don’t make many pot roasts, but we got quite a few chuck roasts with a half-cow we bought and the Googles don’t suggest much in the way of alternative uses for this particular roast. We’ve been making the most of it.

Onions.

And pot roast can be such an inedible thing. Why are they so often so dry? What cooking process could possibly render a cut of meat so grey? Even in restaurants, where pot roast finds its way onto menus under the guise of comfort food, I’ve had the kind of stringy meat that turns to cotton wads in your throat, the kind where you are asking a lot of your esophagus just to get it down.

The bouquet.

My grandmother made a good pot roast, though, so I knew that there was hope. She’d simmer hers in a small stock pot on the stove for hours, and the meat that emerged from the weird hodge-podge of ingredients she threw into the pot would emerge fragrant and tender. The texture was like pulled pork when you cut into it, and the meat was no trouble to chew or swallow.

Pre-cooked pot roast.

Her secret ingredient was coffee, and I remember thinking “oh, I’m not going to like that” when I saw her add it to the roast. But hours passed and the meat simmered and the flavours in the pot melded and turned themselves into something else, and when she spooned the gravy over the meat at the dinner table, I marveled at how rich and delicious it was, and how I couldn’t even taste the coffee. But I could taste that something was distinct, and if I hadn’t seen her put the ingredients into the pot I’d never have guessed at what it was.

My version is a little different, but the ingredients are similar. It’s laziness more than anything that makes mine different – throwing something in the oven for hours and hours just feels like less work than monitoring something on the stove top. There’s not a lot to this recipe, and it can be assembled in minutes; it just cooks for about four hours, which is the perfect amount of time for whiling away a rainy afternoon. And if there’s still cold wind and snow where you are, this will warm your home right through.

For cooking, it will be ideal if you have a pot that can transition from stove to oven. If you don’t, that’s okay. Just make sure the vessel you cook your beef in has a lid and is deep enough that the cooking liquid comes halfway up the sides of the meat.

Cooked pot roast.

One last thing – I mention that you should bundle your herbs in cheesecloth and tie them into a bundle – a bouquet garni! – but if you don’t have cheesecloth or string, just throw the herbs in whole and individually and then fish them out at the end. Also, I know I’ve shown rosemary in the photo above, but it’s really better if you use fresh thyme. Rosemary, when cooked for a very long time, tends to impart a bitter flavour that I am not fond of. Thyme stalks are not woody, and do not impart that same bitterness.

Slices.

Pot roast

(Serves four.)

  • 3 tbsp. olive oil or (ideally) bacon fat
  • 1 x 4-5 lb. beef chuck roast
  • 3 sprigs parsley
  • 1 sprig thyme
  • 2 bay leaves
  • 2 large onions, quartered
  • 1 head of garlic, cloves separated, peeled and chopped
  • 2-4 cups beef stock (or chicken, if that’s all you have)
  • 1 355mL/12 oz. can of cola
  • 1 tbsp. Worcestershire sauce
  • 1 tbsp. instant coffee granules
  • 1 lb. carrots, peeled and chopped into 2-inch chunks
  • Salt and pepper

Preheat your oven to 275°F.

Generously season your beef with salt and pepper. Set aside.

Using a piece of cheesecloth, bundle your parsley, thyme, and bay leaves. Roll tightly, then tie with string to secure. Set aside.

Heat fat in your large pot over medium-high heat. Brown your onions on each side, then remove to a plate.

Add your beef to the pot, and sear each side of the meat. You want to achieve a deep brown on all sides of the meat. Remove the meat to a plate and set aside.

Add the garlic to the pot, and cook for about one minute, stirring frequently. Add the cola to deglaze – make sure to scrape the browned bits off the bottom of the pot using a wooden spoon. Add the Worcestershire sauce and coffee granules.

Add onions back to the pot, spreading so that they cover the whole bottom. Add the meat back to the pot, placing it on top of the onions. Add the herb bundle, then the carrots, and pour enough stock to come halfway up the meat.

Give it a quick taste – is it delicious? Yay! Is it not salty enough? Add more salt.

Cover and cook for 4 hours. Serve with noodles – we had knopfle – or mashed potatoes.

Roasted cauliflower soup.

Gloom.

This is the hardest part of the year to get through. I have no patience left – please, no more squash! I’m done with potatoes. And I have no kindness left in my heart for kale. Let’s have some asparagus, already!

Tossed.

Spring gave us a sneak preview last weekend, a single day of sunshine and warmth where I ran around with bare arms and ate a bahn mi sandwich in a park while the baby learned the pleasures of sliding and swing-sets. And then things went back to normal, and the sky turned grey, and it has been that way ever since.

This time of year feels like purgatory. Molly Waffles has been pacing the apartment and pressing her paws to the window, scratching at the glass. She is desperate to go outside, but there is a family of raccoons out there, and city raccoons are the size of adolescent black bears and she would be little more than an appetizer. I am similarly desperate for something new and different. Maybe that’s strawberries and pink wine in the sunshine, or maybe it’s something bigger? I will be 30 in 30 days, and I am starting to feel like I’ve been pacing around and scratching at windows, like it’s time to make a mad dash for whatever’s beyond here, whether that means outrunning city raccoons or something even scarier.

Roasted.

Or maybe the wet that seeps in through the holes in my boots has found its way into my bones and now there’s mildew in my bloodstream. Maybe this itch for something fresh is just impatience, because something really good – like peach season – is on its way. And maybe what I need isn’t so much an escape as a way to bide time. If that’s the case, then soup will drag us all through these last dark days before the sun brings back all the green things that make us feel alive.

Soup.

Fingers crossed, anyway. We’ll know better what’s out there for us once the sky clears.

Roasted cauliflower soup

(Serves 4.)

  • 1 small head of cauliflower (1 1/2 lbs)
  • 1 onion
  • 1 bulb of garlic, cloves separated and peeled
  • 1/4 cup olive oil
  • 1 tsp. coarse salt
  • 4 cups chicken or vegetable stock
  • 1/2 cup slivered almonds, toasted
  • Zest and juice of half a lemon
  • 1/2 tsp. Worcestershire sauce
  • 1 cup shredded aged white cheddar cheese (between 1/4 and 1/2 lb.)
  • 1 cup milk

Preheat your oven to 325°F. Chop cauliflower and onion, and place in a large bowl with garlic cloves. Pour olive oil over top, mixing thoroughly with your hands so that all the pieces and bits are coated. Sprinkle with salt, and pour into an oven-safe pot – ideally one that will transfer from your oven to your stove-top.

Roast for 45 to 60 minutes, or until golden and fragrant. Stir halfway through cooking for even browning.

Remove from the oven to the stove-top, and add almonds, stock, lemon zest and juice, and Worcestershire sauce. Simmer over medium heat for ten to 15 minutes, until the almonds have softened. Remove from heat and blend with an immersion blender or regular blender, then return to heat. Add cheese, stir, then add milk. Taste, adjusting seasoning as needed and thinning to your desired consistency with more stock or water.


Creamy garlic and white bean soup.

Dinner for two.

Nick and I have been talking lately about whether we might the “too much garlic” people. Is that a thing? When people leave here after a dinner party, do they talk in the elevator on the way down about my heavy hand and effluvious kitchen? Do they sniff their breath from behind cupped palms and cringe? Anytime I make a recipe from a cookbook, I double the amount of garlic the recipe calls for, at least. Sometimes I smell it on my skin and in my hair, and always on my breath.

Raw garlic.

There are people for whom there is such a thing as too much garlic, and those are the people I will never understand. I once absentmindedly cut a slice of bread using a knife I had used earlier in the evening to smash some cloves of garlic, and I put peanut butter on the bread, and when I noticed it tasted like garlicky peanut butter toast, I still ate it. Also I should wash things right after I use them, but whatever.

My parents get garlic from a friend of theirs who grows fat cloves of organic garlic in his backyard, and though I’m pretty sure they aren’t supposed to give it to me (this garlic is not meant for just anyone, I’ve heard), sometimes they do. The garlic is pungent and aggressive, and it is so fresh that even dried, the cloves do not pull easily from the bulb. The skins are thick and ruddy, more like parchment than the whisper-thin white skins on imported supermarket garlic. This is good shit, and I get it all year round. For free.

Beans and garlic.

You can buy local garlic at your Farmer’s Market, and sometimes places like Whole Foods have some good options as well. The white, delicate bulbs you get from the supermarket are usually imported all the way from China, so there’s no way to know how fresh they are. They are subdued, but they will do in a pinch. Less-garlicky garlic is far, far better than no garlic at all.

Simmering.

If on occasion you want to feature garlic beyond being heavy handed with your marinara sauce or whathaveyou, consider putting it in soup. An easy weeknight garlic soup will fill your kitchen with slow-simmered aromas and your mouth with a healthful, soothing richness. White beans add body to this dish, and herbs bundled together and removed at the end lend complexity without leaving visual evidence of having been there. This is peasant food, simple and straightforward and wholesome. To save time you can roast the garlic the night before, and your apartment will smell like a bistro some late night in Paris and there is nothing wrong with that.

Dinner.

Serve with grilled cheese sandwiches. In case that wasn’t obvious.

Creamy garlic soup

(Serves four.)

  • 4 tbsp. olive oil
  • 1/4 lb. garlic, cloves separated and peeled
  • 1 large onion, diced
  • 1 540mL/19 oz. can white beans, such as navy, white kidney, or great northern beans
  • 4 cups vegetable or chicken stock
  • 1 sprig fresh sage
  • 1 sprig fresh parsley
  • 1 bay leaf
  • Salt and pepper
  • 1/3 cup heavy cream (optional)

Preheat your oven to 350°F.

In a small baking dish with two tablespoons of olive oil, roast whole garlic cloves for 30 to 40 minutes, or until brown and sweet-smelling.

Meanwhile, in a heavy-bottomed pan over medium-high heat, sauté onion with remaining oil until golden and lightly caramelized. Add beans, roasted garlic, and chicken or vegetable stock, and stir to combine. Bundle sage, parsley and bay leaf using kitchen twine, and pop into the pot. Simmer together for 15 to 20 minutes.

Remove bundled herbs and discard. Puree soup using a blender or immersion blender. Taste, adding salt and pepper and adjusting seasonings as needed. Serve immediately, or simmer for an additional five to 1o minutes, or until desired consistency is achieved. Remove from heat and finish with cream, if desired.

Scraped clean.